-
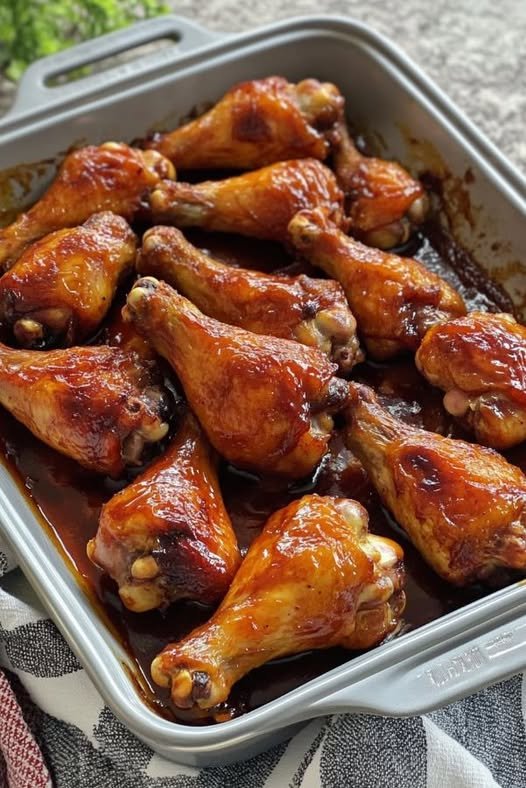
Name: Roaster Fried Chicken Legs
-
Prep Time: 20 minutes (plus 1-4 hours brining)
-
Cook Time: 45 minutes
-
Total Time: 1 hour 5 minutes (plus brining time)
-
Course: Main Course
-
Cuisine: American
-
Difficulty: Easy
-
Servings: 6
There’s something universally comforting about fried chicken. The anticipation of that first bite through a shatteringly crisp crust into tender, juicy meat is a feeling like no other. But traditional stovetop frying can be messy, intimidating, and inconsistent. Enter the game-changing method for Roaster Fried Chicken Legs. This technique harnesses the power of your oven’s roasting function to create an environment that mimics deep-frying, resulting in incredibly crispy, golden-brown chicken legs with a fraction of the oil and none of the guesswork.
This recipe is for anyone who has ever been disappointed by soggy baked chicken or nervous about monitoring a pot of hot oil. By using a hot roasting pan and a strategic amount of oil, we create a mini-fryer in your oven that cooks the chicken legs evenly on all sides, rendering the fat and producing an irresistibly crunchy crust. The result? Perfectly cooked, succulent dark meat encased in a well-seasoned, crispy coating that will have your family believing you’re a fried chicken virtuoso.
Roaster Fried Chicken Legs
Ingredients
For the Brine (Highly Recommended):
-
6 whole chicken legs (drumstick and thigh attached, about 4-5 lbs total)
-
¼ cup kosher salt
-
2 tablespoons granulated sugar
-
8 cups cold water
-
4 cloves garlic, smashed
-
1 tablespoon black peppercorns
-
2 bay leaves
For the Dredge and Cooking:
-
2 cups all-purpose flour
-
⅓ cup cornstarch
-
2 teaspoons garlic powder
-
2 teaspoons onion powder
-
1 teaspoon smoked paprika
-
1 teaspoon cayenne pepper (adjust to taste)
-
1 tablespoon kosher salt
-
1 teaspoon black pepper
-
1 cup buttermilk
-
1 large egg
-
1 tablespoon hot sauce (optional)
-
1 cup vegetable oil, canola oil, or avocado oil
Equipment
-
Large roasting pan (not non-stick)
-
Two large mixing bowls
-
Whisk
-
Tongs
-
Wire cooling rack
-
Paper towels
Instructions
Step 1: Brine for Juiciness (The Secret Weapon)
In a large pot, combine the salt, sugar, garlic, peppercorns, and bay leaves with 4 cups of water. Heat over medium heat, stirring until the salt and sugar completely dissolve. Remove from heat and add the remaining 4 cups of cold water to cool the brine completely.
Submerge the chicken legs in the cool brine, cover, and refrigerate for at least 1 hour and up to 4 hours. This crucial step seasons the meat from the inside out and guarantees a juicy result, even if you accidentally overcook slightly.
Step 2: Prepare the Dredging Station
Preheat your oven to 400°F (200°C). Place your empty roasting pan in the oven as it preheats. A hot pan is the key to achieving a crispy crust from the moment the chicken touches the surface.
In one large bowl, whisk together the buttermilk, egg, and hot sauce (if using).
In a second large bowl, whisk together the flour, cornstarch, garlic powder, onion powder, smoked paprika, cayenne, salt, and pepper.
Step 3: Dredge the Chicken
Remove the chicken legs from the brine and pat them completely dry with paper towels. This is non-negotiable for the coating to adhere properly.
Working with one piece at a time, coat the chicken in the flour mixture, shaking off the excess. Then, dip it fully into the buttermilk mixture, allowing the excess to drip off. For the final step, place it back into the flour mixture, pressing and packing the flour onto the chicken to create a thick, shaggy coating. Place each finished piece on a wire rack while you finish the rest.
Step 4: The “Roaster Frying” Method
Carefully remove the hot roasting pan from the oven using oven mitts. Pour the 1 cup of oil into the hot pan and swirl it to coat the bottom.
Arrange the dredged chicken legs in the hot pan, skin-side down. They should sizzle immediately. This initial sizzle is what sears the crust and prevents sticking.
Return the pan to the oven and roast for 25 minutes.
Step 5: Flip and Finish
After 25 minutes, remove the pan from the oven. Using tongs, carefully flip each chicken leg. They should be a deep golden brown on the bottom.
Return the pan to the oven and continue to roast for another 20-25 minutes, or until the chicken is a deep, uniform golden brown and the internal temperature reaches 175°F (80°C) in the thickest part of the thigh.
Step 6: Drain and Serve
Once cooked, transfer the chicken legs to a clean wire rack set over a baking sheet. Do not place them on paper towels, as this can trap steam and make the bottom crust soggy. Let them rest for 5-10 minutes before serving. This allows the juices to redistribute, ensuring every bite is moist.
Chef’s Notes & Tips for Success
-
Why a Roasting Pan? A standard roasting pan is heavy and retains heat exceptionally well. Preheating it with the oven and adding oil creates an instant sear, similar to a skillet, while the oven’s ambient heat cooks the chicken through evenly, mimicking a commercial fryer.
-
The Power of Cornstarch: The addition of cornstarch to the flour is a professional trick. It reduces gluten formation and promotes a lighter, crisper texture that stays crispy longer than a flour-only coating.
-
Don’t Skip the Brine: Brining is the single best way to ensure juicy, flavorful chicken, especially with larger legs. It’s a simple step with a massive payoff.
-
Patience with Preheating: Ensure your oven and pan are fully preheated before adding the oil and chicken. A lukewarm pan will lead to greasy, soggy skin.
-
Internal Temperature is Key: Using a meat thermometer takes the guesswork out. Chicken legs are best at 175°F (80°C), which renders the fat and connective tissue for fall-off-the-bone tenderness.
Serving Suggestions
These Roaster Fried Chicken Legs are a versatile main course. Serve them with classic sides like:
-
Creamy Mashed Potatoes & Gravy: The ultimate comfort food pairing.
-
Southern-style Collard Greens: A tangy, savory counterpoint to the rich chicken.
-
Macaroni and Cheese: For the ultimate indulgent plate.
-
Classic Coleslaw: Its cool, crisp texture cuts through the richness perfectly.
-
Buttermilk Biscuits or Cornbread: Ideal for sopping up every last bit of flavor.
Nutrition Information
(Please note: The following is an estimate and can vary based on specific ingredients and portion sizes. Values are for one whole chicken leg.)
Serving Size: 1 chicken leg | Calories: 585 | Total Fat: 33g | Saturated Fat: 7g | Trans Fat: 0g | Cholesterol: 185mg | Sodium: 1280mg | Total Carbohydrates: 25g | Dietary Fiber: 1g | Sugars: 2g | Protein: 45g
A Note on Nutrition: This cooking method significantly reduces the fat absorption compared to traditional deep-frying, as the chicken is not fully submerged in oil. Chicken legs are an excellent source of high-quality protein, essential for muscle repair and satiety. They also provide important nutrients like iron, zinc, and B vitamins. The majority of the fat is from the chicken skin and the oil used for cooking, which helps create the crispy texture. While this is a calorie-dense meal, it is a hearty and satisfying one. For a balanced approach, pair it with plenty of fresh vegetables and be mindful of portion size if you are watching your calorie intake.