Prep Time: 25 minutes (active) | Cook Time: 0 minutes (plus 24+ hours inactive) | Total Time: 24 hours+
Skill Level: Easy | Intensity: Low effort, minimal hands-on | Yield: About 3 cups (750 ml)
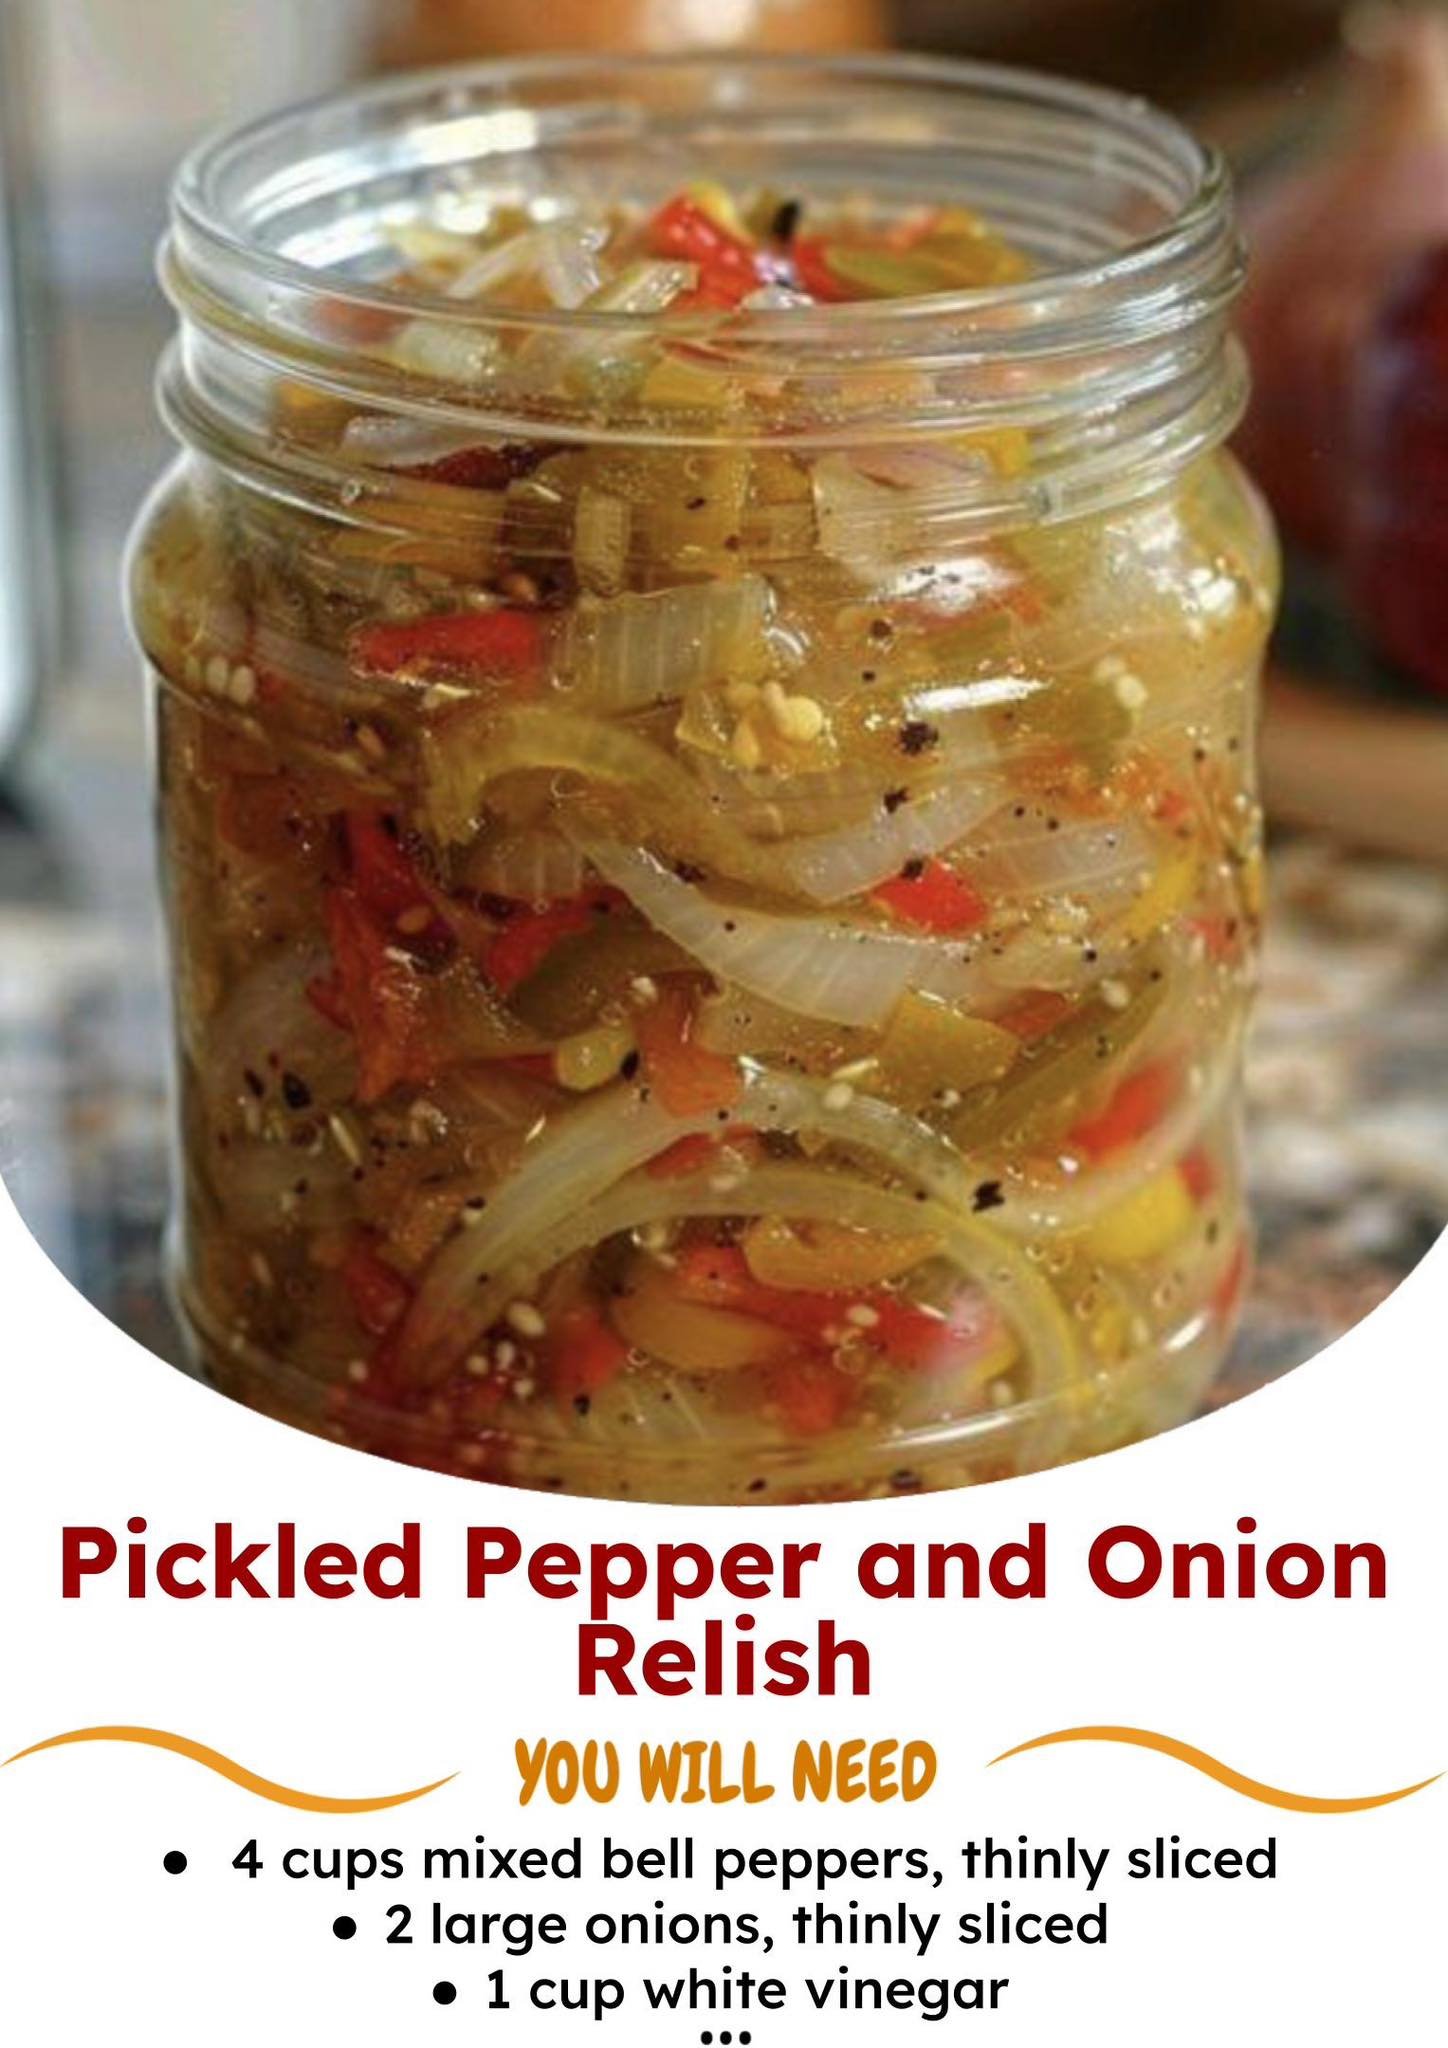
The Last Jar of Summer
This is not just another condiment. This Pickled Pepper and Onion Relish is the final, vibrant punctuation mark at the end of summer’s bounty—a way to capture the last of the garden’s peppers and the final, pungent bulbs of the season’s onions in a jar that promises sunshine for months to come. It’s the last recipe you’ll need to bridge the gap between the abundance of August and the sparse months ahead. More than a mere topping, it’s a transformative spark: a sweet, sour, spicy, and crisp confetti that awakens grilled meats, rescues simple cheeses, and turns a humble hot dog into a gourmet experience. Once you make this, you’ll find the store-bought versions pale, lifeless, and wholly unnecessary. This is the last relish you’ll ever buy.
Why This Recipe Works
The magic lies in the quick-pickle brine, a hot vinegar solution that softens the vegetables just enough while preserving their essential crunch. The contrast of peppers—sweet and hot—creates a complex flavor profile, while the onion provides a pungent backbone. Unlike fermented relishes that take weeks, this refrigerator method delivers bold, balanced flavor in just 24 hours. The touch of sugar isn’t for sweetness alone; it rounds out the sharp acidity of the vinegar, creating a harmonious, lip-smacking finish.
Ingredients
For the Relish:
-
2 large red, orange, or yellow bell peppers (or a mix), finely diced (about 2 cups)
-
1-2 jalapeño or serrano peppers, seeds and ribs removed for less heat, finely diced
-
1 medium red onion, finely diced (about 1 ½ cups)
-
2 cloves garlic, thinly sliced
For the Brine:
-
1 cup (240 ml) apple cider vinegar (for fruity acidity)
-
½ cup (120 ml) water
-
⅓ cup (65g) granulated sugar
-
1 tablespoon plus 1 teaspoon kosher salt (use 1 tablespoon if using table salt)
-
1 teaspoon whole black peppercorns
-
1 teaspoon mustard seeds
-
½ teaspoon celery seeds
-
1 bay leaf
Equipment
-
Sharp chef’s knife and cutting board
-
Medium saucepan
-
2-3 clean 16-oz (500 ml) jars with lids (or one large quart jar)
-
Fine-mesh sieve (optional)
-
Canning funnel (helpful but not essential)
Step-by-Step Instructions
Step 1: Prepare the Vegetables (The Confetti)
-
Dice with Precision: Core and seed the bell peppers. Finely dice them into uniform, ¼-inch pieces. Consistency is key for both texture and pickling efficiency. Repeat with the hot peppers, remembering that the seeds and white ribs hold most of the heat.
-
Tackle the Onion: Peel the red onion, cut it in half from root to tip, and slice thinly. Then, turn your slices and dice finely to match the pepper size. The red onion adds a beautiful color and a milder, sweeter flavor than its yellow or white counterparts when pickled.
-
Combine: Place the diced bell peppers, hot peppers, red onion, and sliced garlic in a large, heat-proof bowl or divide evenly among your clean jars.
Pro-Tip: For the finest, most restaurant-quality dice, use a mandoline slicer (with the guard!) on the onion and a bell pepper corer for swift prep. The goal is a beautiful, confetti-like mix.
Step 2: Create the Brine (The Potion)
-
Combine and Dissolve: In the medium saucepan, combine the apple cider vinegar, water, sugar, salt, peppercorns, mustard seeds, celery seeds, and bay leaf. Stir over medium heat until the sugar and salt are completely dissolved. This takes about 3-4 minutes. Do not let it boil.
-
Infuse the Flavor: Once dissolved, bring the brine to a gentle simmer. Let it bubble softly for exactly 1 minute. This brief heating step helps infuse the vinegar with the spices and ensures the sugar is fully incorporated. Remove from heat.
Step 3: The Pickling Process (The Transformation)
-
The Pour: Carefully pour the hot brine directly over the vegetable mixture in the bowl or jars. Ensure all the vegetables are completely submerged. Use a spoon to press them down and release any air bubbles. The brine should cover the vegetables by at least ½ inch.
-
Cool to Room Temperature: Let the mixture sit, uncovered, until it reaches room temperature. This can take 1-2 hours. The vegetables will begin to soften slightly and turn a beautiful, vibrant, pickled hue.
-
Seal and Refrigerate: Once cool, seal the jars with their lids. Place them in the refrigerator.
Step 4: The Waiting Game (The Magic)
This is the most crucial step. You must wait at least 24 hours before tasting. The flavors need time to mingle, mellow, and develop their full potential. The sharp bite of the raw onion and the fresh pepper taste will evolve into a perfectly balanced, sweet-and-sour relish with a satisfying crunch. It will continue to improve for up to a week.
Chef’s Notes & Flavor Variations
-
Spice Level: Control the heat with your choice of pepper. For mild, use 1 deseeded jalapeño. For serious kick, use 2 serranos with seeds.
-
The Sweet & Sour Balance: The sugar level is designed to balance cider vinegar. If using white vinegar, which is harsher, you may want to increase sugar by 1-2 tablespoons. Taste the brine (carefully, it’s hot!) and adjust.
-
Global Twists:
-
Mediterranean: Add ½ tsp dried oregano and a strip of lemon zest to the brine.
-
Asian-Inspired: Replace ¼ cup of the vinegar with rice vinegar and add a few slices of fresh ginger.
-
-
Storage: This is a refrigerator pickle. Stored in a sealed jar, it will keep crisply for 3-4 weeks. For longer shelf-stable storage, a proper water-bath canning process is required.
How to Use Your Relish: The Final Transformation
This is where the “last recipe” promise is fulfilled. This relish is endlessly versatile:
-
The Ultimate Burger/Grilled Cheese Topper: Adds moisture, acidity, and crunch.
-
Taco & Nacho Bar Star: A bright alternative to plain salsa.
-
Hot Dog & Sausage Heaven: The classic use, but now elevated.
-
Grain Bowl & Salad Booster: Stir a spoonful into quinoa, farro, or chickpea salads.
-
Creamy Dip Base: Mix ½ cup relish with 1 cup sour cream or Greek yogurt for an instant party dip.
-
Charcuterie Board Essential: Cleanses the palate between rich cheeses and cured meats.
Nutrition Information
*(Per 2-tablespoon serving. Estimated values.)*
| Nutrient | Amount | % Daily Value* |
|---|---|---|
| Calories | 15 kcal | |
| Total Fat | 0g | 0% |
| Sodium | 240mg | 10% |
| Total Carbohydrate | 3.5g | 1% |
| Sugars | 3g | |
| Fiber | 0.5g | 2% |
| Protein | 0g | |
| Vitamin C | 15% |
*Percent Daily Values are based on a 2,000 calorie diet.
This relish is a low-calorie, fat-free way to add a massive punch of flavor to any dish. It’s the last condiment recipe you need because it becomes the first thing you reach for. Make a double batch. Your future self, staring into a winter pantry, will thank you for this jar of captured summer light.