-
Prep Time: 10 minutes
-
Cook Time: 25-30 minutes
-
Cooling Time: 30 minutes (minimum)
-
Total Time: ~1 hour 10 minutes
-
Intensity: Easy – This is a simple, one-bowl recipe that requires no special skills. It’s a quick mix-and-bake process perfect for beginners and seasoned bakers alike.
Equipment You’ll Need
-
8×8 inch square baking pan
-
Medium-sized mixing bowl
-
Whisk
-
Spatula
-
Measuring cups and spoons
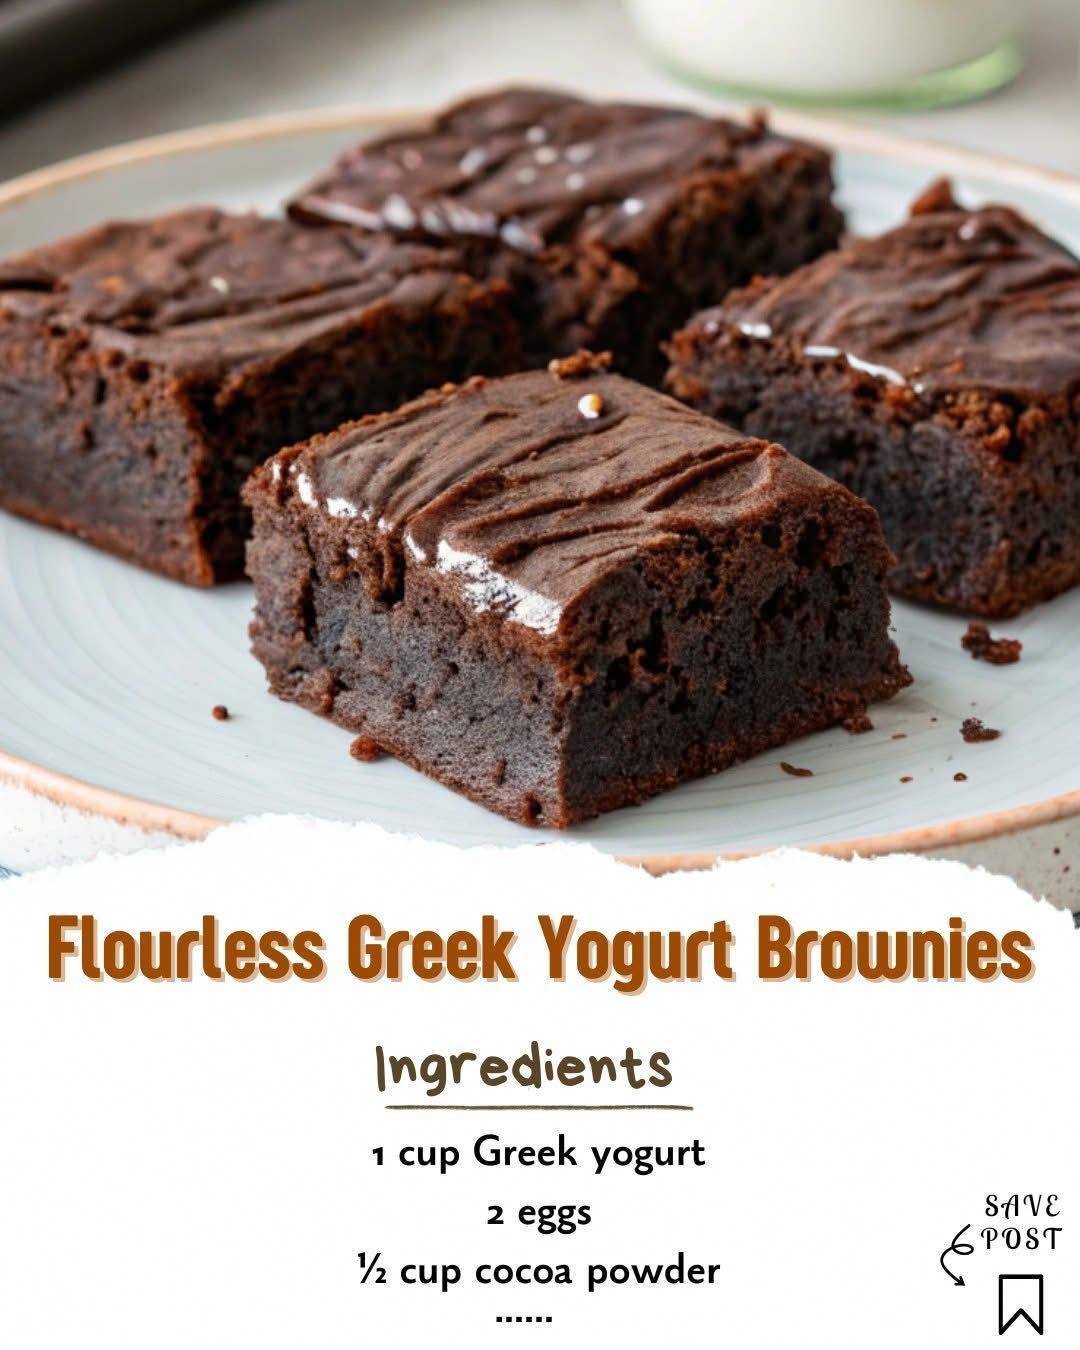
Ingredients
For the Brownie Batter:
-
1 cup (250g) plain, non-fat Greek yogurt
-
½ cup creamy peanut butter or almond butter (can substitute with ½ cup additional Greek yogurt for a nut-free version)
-
2 large eggs
-
½ cup maple syrup or honey
-
1 teaspoon vanilla extract
-
½ cup unsweetened cocoa powder
-
½ cup vanilla or chocolate protein powder (whey or plant-based)
-
¼ cup all-purpose flour or oat flour
-
1 teaspoon baking soda
-
¼ teaspoon salt
-
½ cup dark chocolate chips, divided
For the Optional Protein Frosting:
-
½ cup plain, non-fat Greek yogurt
-
2 tablespoons protein powder (vanilla or chocolate)
-
1-2 tablespoons maple syrup or honey, to taste
Instructions
Step 1: Prepare the Pan and Preheat
-
Preheat Oven: Begin by preheating your oven to 350°F (175°C). This ensures the oven is at the perfect temperature as soon as your batter is ready.
-
Prepare the Pan: Line your 8×8 inch baking pan with parchment paper, leaving some overhang on two opposite sides. This “sling” will make it incredibly easy to lift the entire batch of brownies out for clean slicing. Lightly grease the parchment paper with a touch of cooking spray or butter.
Step 2: Create the Wet Mixture
-
Combine Wet Ingredients: In your medium mixing bowl, combine the 1 cup of Greek yogurt and the peanut butter. Whisk them together until smooth and well-combined.
-
Add Eggs and Sweetener: Add the two eggs, the ½ cup of maple syrup, and the vanilla extract to the yogurt mixture. Whisk vigorously until the mixture is smooth, uniform, and slightly glossy.
Step 3: Incorporate the Dry Ingredients
-
Sift and Add: To the same bowl, add the cocoa powder, ½ cup of protein powder, ¼ cup of flour, baking soda, and salt. It’s a good practice to sift the cocoa powder to avoid lumps.
-
Fold Gently: Using a spatula, gently fold the dry ingredients into the wet ingredients. Mix until just combined. Be careful not to overmix! A few streaks of flour are okay; overmixing can lead to tough, cakey brownies.
-
Add Chocolate Chips: Fold in ¼ cup of the dark chocolate chips, reserving the other ¼ cup for sprinkling on top.
Step 4: Bake to Fudgy Perfection
-
Transfer to Pan: Pour the thick, luscious batter into your prepared baking pan. Use the spatula to spread it into an even layer.
-
Top with Chips: Sprinkle the remaining ¼ cup of chocolate chips evenly over the surface of the batter.
-
Bake: Place the pan in the preheated oven and bake for 25-30 minutes. The key to a fudgy texture is to slightly underbake them. The brownies are done when the top is set and looks dry, and the edges are just beginning to pull away from the pan. A toothpick inserted into the center should come out with a few moist crumbs attached, but not wet batter.
-
The Cool Down: This is the most critical step for achieving the perfect texture. Remove the brownies from the oven and place the entire pan on a wire cooling rack. Allow them to cool in the pan for at least 30 minutes. For the cleanest slices and the most fudgy consistency, chilling them in the refrigerator for 1-2 hours is highly recommended.
Step 5: The Final Touches
-
Slice: Once completely cooled (or chilled), use the parchment paper sling to lift the entire brownie block out of the pan. Place it on a cutting board and use a sharp knife to slice it into 9 even squares.
-
Optional Frosting: While the brownies are cooling, you can whip up the simple protein frosting. In a small bowl, combine the ½ cup Greek yogurt, 2 tablespoons of protein powder, and 1-2 tablespoons of maple syrup. Whisk until smooth. Spread a thin layer over the cooled brownies for an extra protein boost and a deliciously creamy finish.
The Last of the Recipe: Storage & Reheating
-
Storing Leftovers: Store these brownies in an airtight container in the refrigerator for up to 1 week. The cold temperature enhances their fudgy texture and keeps the Greek yogurt fresh.
-
Freezing: These brownies freeze exceptionally well. Individually wrap each brownie in plastic wrap and place them all in a freezer-safe bag or container. They will keep for up to 3 months. Thaw at room temperature for 30 minutes or overnight in the refrigerator.
-
Reheating: For a warm, fresh-from-the-oven experience, microwave a refrigerated brownie for 15-20 seconds. This will soften it perfectly and make the chocolate chips melty again.
Nutrition Information
Please note: The following nutrition information is an estimate provided by an online nutrition calculator. Actual values may vary based on specific ingredients and brands used.
-
Serving Size: 1 brownie (without frosting)
-
Calories: ~195 kcal
-
Total Fat: 9g
-
Saturated Fat: 3.5g
-
Cholesterol: 40mg
-
Sodium: 220mg
-
Total Carbohydrates: 20g
-
Dietary Fiber: 2g
-
Sugars: 14g
-
Protein: 10g
Chef’s Notes & Customizations
-
The Yogurt is Key: Use a thick, high-quality Greek yogurt for the best results. A runny yogurt will make the batter too wet and affect the final texture.
-
Don’t Overbake: The difference between a fudgy brownie and a dry one is just a few minutes in the oven. Trust the toothpick test with moist crumbs.
-
Protein Powder Selection: The type of protein powder can affect the texture. Whey/casein blends tend to work best. If your batter seems too thick after adding the protein powder, add a tablespoon of milk or water to thin it slightly.
-
Flavor Twists:
-
Mint Chocolate: Add ¼ teaspoon of peppermint extract to the batter.
-
Orange Zest: Add the zest of one orange for a bright, citrusy note.
-
Nutty Crunch: Fold in ¼ cup of chopped walnuts or pecans along with the chocolate chips.
-
Double Chocolate: Use chocolate protein powder and swap the vanilla extract for almond extract.
-
-
Dietary Adjustments: For a gluten-free version, ensure your oat flour and protein powder are certified gluten-free. For a lower-sugar option, use a sugar-free maple syrup alternative.