-
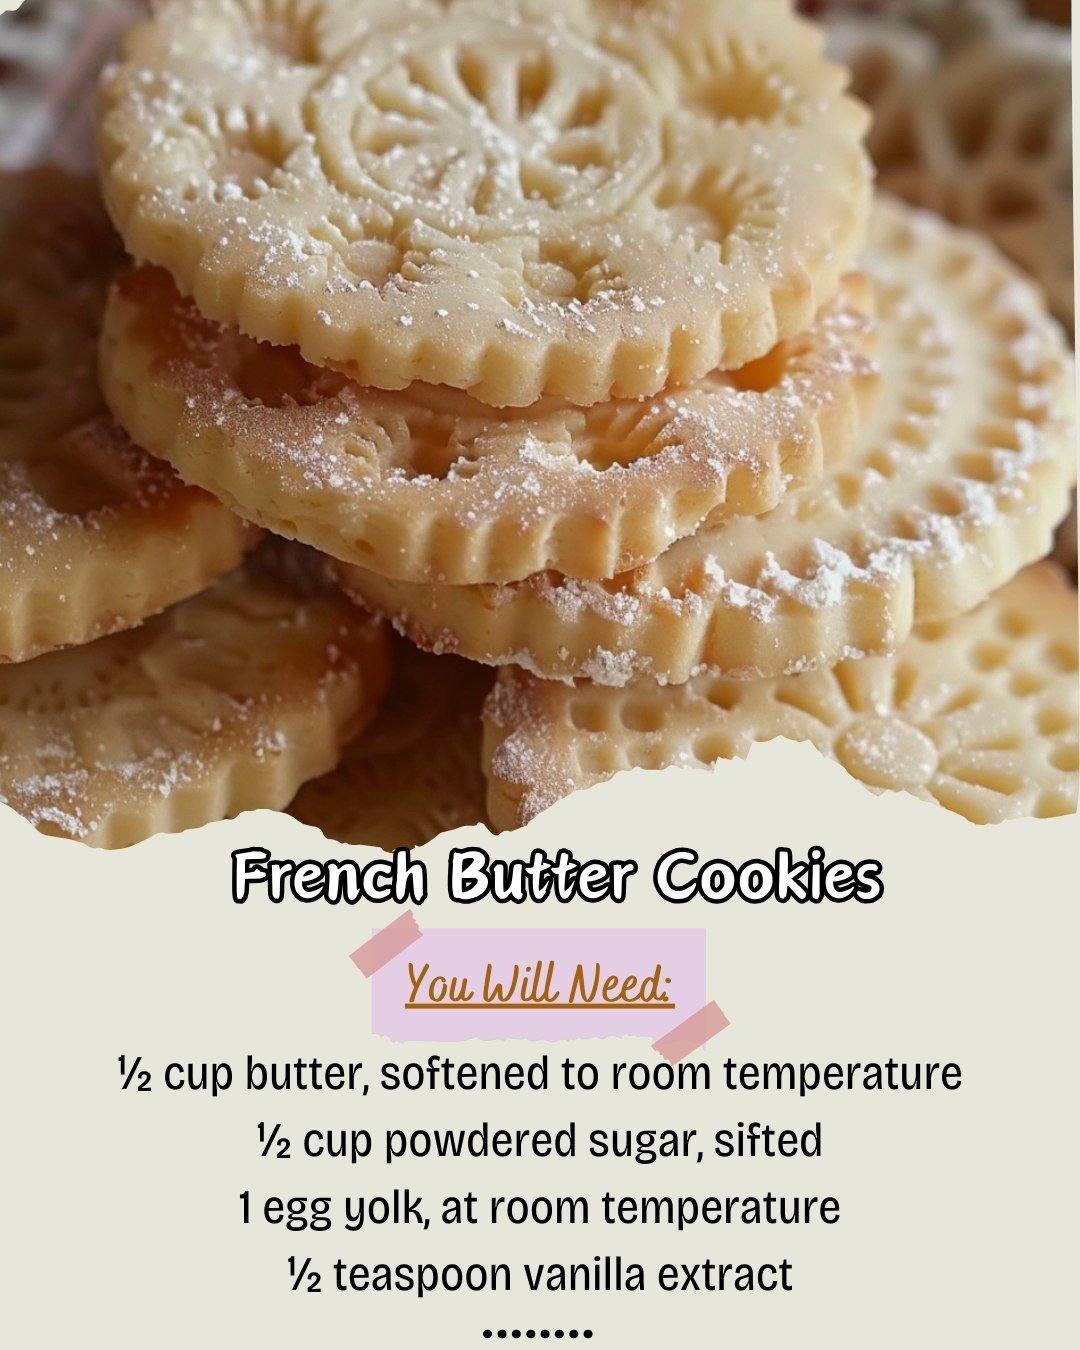
Name: Sablés Bretons (French Butter Cookies from Brittany)
-
Yields: Approximately 24-30 cookies, depending on cutter size
-
Prep Time: 20 minutes (plus 1-2 hours for chilling)
-
Cook Time: 12-15 minutes
-
Total Time: 1 hour 35 minutes (plus chilling)
-
Intensity Level: Medium (Requires precision in measurement and an understanding of dough texture. The process is simple but demands patience and a light touch.)
Ingredients
For the Cookie Dough:
-
1 cup (226g) European-style unsalted butter, cold and cubed
-
⅔ cup (80g) confectioners’ sugar, sifted
-
¼ cup (50g) granulated sugar
-
½ tsp fine sea salt
-
2 large egg yolks, at room temperature
-
1 tsp pure vanilla extract or ½ tsp vanilla bean paste
-
2 cups (250g) all-purpose flour, plus more for dusting
For the Egg Wash & Finishing:
-
1 large egg yolk
-
1 tsp cream or milk
-
Coarse sparkling sugar or Flaky sea salt, for sprinkling
Equipment
-
Stand mixer with paddle attachment (or a hand mixer and a large bowl)
-
Baking sheets
-
Parchment paper or silicone baking mats
-
Rolling pin
-
2-3 inch round or fluted cookie cutter
-
Fine-mesh sieve (for sifting sugar)
-
Pastry brush
Instructions
Part 1: The Foundation – Crafting the “Sandy” Dough
Time: 20 minutes (plus chilling)
-
Cream the Butter & Sugars: In the bowl of a stand mixer fitted with the paddle attachment, combine the cold, cubed butter, sifted confectioners’ sugar, granulated sugar, and salt. Beat on medium speed for 2-3 minutes. The goal is not to make it light and fluffy, as with American cookies, but to combine until just smooth and pale. Over-creaming will incorporate too much air and cause the cookies to spread.
-
Incorporate the Yolks & Vanilla: Add the two egg yolks and the vanilla extract. Mix on low speed until just combined, scraping down the sides of the bowl as needed. The mixture may look slightly curdled at this point; this is normal and will be rectified with the flour.
-
Add the Flour with Care: With the mixer on the lowest possible speed, gradually add the all-purpose flour. Mix only until the flour has just disappeared and the dough begins to clump around the paddle. Do not overmix. The second the dough forms cohesive clumps, stop the machine.
-
Form and Chill the Dough: Turn the dough out onto a lightly floured surface. With gentle hands, bring it together into a flat disc. Do not knead it like bread dough; simply press it into shape. Wrap the disc tightly in plastic wrap and refrigerate for at least 1 hour, or up to 2 days. This chilling period is non-negotiable. It firms up the butter, preventing spread, and allows the flour to fully hydrate, resulting in a more tender cookie.
Part 2: The Art of Shaping – Precision and Patience
Time: 15 minutes
-
Preheat and Prepare: Preheat your oven to 350°F (175°C). This is a moderate temperature that will cook the cookies through without over-browning the edges. Line two baking sheets with parchment paper.
-
Roll to Perfection: On a lightly floured surface, roll the chilled dough out to a uniform ¼-inch thickness. Lift and rotate the dough occasionally to ensure it isn’t sticking, dusting with minimal flour as needed. A uniform thickness is the secret to even baking.
-
Cut with Confidence: Using your chosen cookie cutter, cut out the dough. Press straight down without twisting, as twisting can seal the edges and prevent an even rise. Gather the scraps, re-roll them gently, and continue cutting until all the dough is used.
-
Prepare for the Oven: Place the cut-out cookies on the prepared baking sheets, leaving about 1 inch between them. They will spread only slightly.
Part 3: The Finishing Touch – The Signature Shine
Time: 5 minutes
-
Create the Egg Wash: In a small bowl, whisk the single egg yolk with the teaspoon of cream or milk until smooth. This will create a rich, golden glaze.
-
Apply the Wash: Using a clean pastry brush, gently brush the top of each cookie with a thin, even layer of the egg wash. This gives the sablés their characteristic patisserie shine.
-
Add Your Signature: For a classic look, sprinkle the cookies with coarse sparkling sugar. For a sophisticated sweet-and-salty contrast, a tiny pinch of flaky sea salt is sublime. You can also use the tines of a fork to create a traditional cross-hatch pattern on the surface before baking.
Part 4: The Bake – A Study in Golden Perfection
Time: 12-15 minutes
-
Bake to Pale Gold: Place the baking sheets in the preheated oven. Bake for 12-15 minutes, rotating the sheets halfway through. The cookies are done when the edges are just barely beginning to turn a light golden brown. The centers should remain pale. They will feel soft to the touch but will firm up dramatically as they cool.
-
The Critical Cool: Remove the baking sheets from the oven. Let the cookies rest on the hot sheet for 5 minutes. This allows them to set. Then, using a thin spatula, transfer them to a wire rack to cool completely. The sound they make when you tap them on the bottom should be a light, hollow click. As they cool, their signature sandy, crumbly texture will fully develop.
Chef’s Notes & Variations
-
The Butter is Key: For an authentic flavor, use a high-fat, European-style butter (like Plugrá or Kerrygold) with a fat content of around 82-85%. The flavor difference is profound.
-
Flavor Variations:
-
Lemon Sablés: Add the zest of one lemon to the butter-sugar mixture.
-
Almond Sablés: Substitute ¼ cup of the flour with finely ground almond flour.
-
Chocolate Dip: Once completely cool, dip half of each cookie in melted dark chocolate for a classic demi-glace finish.
-
-
Slice-and-Bake Method: Instead of rolling, you can shape the dough into a log, chill, and then slice it into ¼-inch rounds. This method is easier and yields a more rustic look.
Storage and Keeping
-
Storage: Once completely cool, store the cookies in an airtight container at room temperature. They will keep beautifully for up to 1 week.
-
Freezing: The dough disc or log can be wrapped tightly and frozen for up to 3 months. Thaw in the refrigerator before using. Baked cookies also freeze well for up to 2 months.
Nutrition Information
(Per cookie, based on a yield of 28 cookies)
-
Calories: ~120 kcal
-
Total Fat: 7g
-
Saturated Fat: 4.5g
-
-
Cholesterol: 35mg
-
Sodium: 45mg
-
Total Carbohydrates: 13g
-
Dietary Fiber: 0g
-
Sugars: 6g
-
-
Protein: 1g
Note: Nutritional information is an estimate and can vary based on specific ingredients used. These are a rich, indulgent cookie best savored slowly, one at a time.