Prep Time: 15 minutes
Cook Time: 15 minutes (Broiling/Roasting)
Blending & Resting Time: 5 minutes + 30 minutes (crucial)
Total Time: 1 hour 5 minutes (mostly hands-off)
Serves: Makes about 3.5 cups
Difficulty: Easy
Intensity: Low to Medium (Controlling the heat level is easy; the only “skill” is not burning the garlic.)
Ingredients
The Roasted Vegetable Base:
-
2 lbs ripe Roma tomatoes (about 8-10), halved lengthwise
-
1 medium white onion, peeled and cut into ½-inch thick rounds
-
4-6 cloves garlic, unpeeled
-
2-4 jalapeño peppers, stemmed and halved lengthwise (seeds and ribs removed for mild heat; kept for hot)
-
1-2 serrano peppers, stemmed (optional, for extra heat)
The Flavor Builders:
-
¼ cup packed fresh cilantro leaves and tender stems, plus more for garnish
-
2 tbsp fresh lime juice (from 1-2 juicy limes)
-
1 ½ tsp kosher salt, plus more to taste
-
½ tsp ground cumin (optional, for a hint of earthy depth)
-
¼ cup water, if needed for consistency
The “Cheat” for Extra Depth (Optional but Recommended):
-
1 tbsp tomato paste
Instructions
Part 1: The Roast – Where Magic Happens
-
Position Your Oven Rack: Move an oven rack to the position closest to the broiler element (about 4-5 inches away). Preheat your broiler to HIGH. Line a large, heavy-duty baking sheet with aluminum foil for easy cleanup.
-
Arrange the Vegetables: Place the halved Roma tomatoes skin-side-up on one half of the baking sheet. On the other half, arrange the onion rounds, unpeeled garlic cloves, and halved jalapeños (and serranos, if using). Do not crowd the pan; vegetables should be in a single layer for proper charring, not steaming.
-
Broil to Charred Perfection: Place the baking sheet under the broiler. Broil for 5-8 minutes, watching closely. The goal is a serious, splotchy black char on the skins of the tomatoes and peppers, and a good browning on the onions. The garlic may puff up. Remove the garlic cloves if they are soft and nicely browned (they burn quickly!) and set aside. Use tongs to flip the onion rounds and peppers. Return to the broiler for another 4-7 minutes, until the other sides are well-charred. The tomatoes should be blistered and collapsed.
Part 2: The Steam & Prep
-
The Critical Steam for Peppers: Immediately transfer the charred jalapeños and serranos to a small bowl and cover tightly with plastic wrap or place in a zip-top bag. Let them steam for 10 minutes. This crucial step makes peeling the charred skin off incredibly easy and mellows the pepper’s raw fire.
-
Peel the Garlic: Once the roasted garlic cloves are cool enough to handle, simply squeeze the soft, sweet roasted garlic paste out of the papery skins and into your blender. Discard the skins.
Part 3: The Blend – Texture is Key
-
Combine Ingredients in Blender: To the blender, add the peeled, steamed jalapeños (and serranos), the charred tomatoes with all their juices, and the charred onion rounds (break them apart a bit).
-
Pulse, Don’t Puree: Add the fresh cilantro, lime juice, kosher salt, and ground cumin (if using). Here is the second critical step: Pulse the blender in short, sharp bursts. You are aiming for a textured, slightly chunky salsa, not a smooth liquid. Pulse 8-12 times, checking consistency after each few pulses. For a more salsa taquera-style smoothness, you can blend longer.
-
Adjust Consistency: If the salsa seems too thick, add water, one tablespoon at a time, pulsing to incorporate, until it reaches your desired dip-ability.
Part 4: The Rest – The Non-Negotiable Final Step
-
Taste and Season: Pour the salsa into your serving bowl. Taste it. This is where you make it yours. Does it need more salt? A pinch more? Another squeeze of lime for brightness? Adjust now.
-
The Mandatory Rest: DO NOT SERVE IMMEDIATELY. Cover the bowl and let the salsa rest at room temperature for at least 30 minutes, or ideally, refrigerate for 1-2 hours. This rest period is non-negotiable. It allows the smoky, charred flavors to meld, the salt to penetrate, and the heat to distribute evenly. The flavor transforms from “good” to “absolutely incredible” in this time.
Part 5: Serve & Conquer
-
Final Presentation: Give the salsa a final stir. Garnish with a few fresh cilantro leaves. Serve with a big bowl of sturdy, salty restaurant-style tortilla chips, on tacos, eggs, grilled meats, or straight from the spoon.
The Salsa Master’s Guide: Tips & Secrets
-
Choosing Your Heat Level: This is your complete control panel.
-
Mild: Use 2 jalapeños, completely seeds and ribs removed. Omit serranos.
-
Medium (The Sweet Spot): Use 3 jalapeños, seeds removed from half. The roasted flavor shines.
-
Hot: Use 4 jalapeños + 1-2 serranos, seeds intact. You have been warned.
-
-
The Tomato Paste “Umami Boost”: For an even deeper, richer red color and a more concentrated tomato flavor, add 1 tablespoon of tomato paste to the blender. It bridges the flavor of fresh and cooked tomatoes perfectly.
-
No Broiler? No Problem. Use Your Stovetop: A comal or cast-iron skillet over medium-high heat works beautifully. Dry-roast the vegetables, turning occasionally, until charred on all sides. This method often yields even more smoke flavor.
-
The Cilantro Controversy: If you’re genetically predisposed to dislike cilantro (it tastes like soap to some), simply omit it. The salsa will still be phenomenal. Replace with a small handful of fresh parsley or a teaspoon of dried oregano for a different herbal note.
-
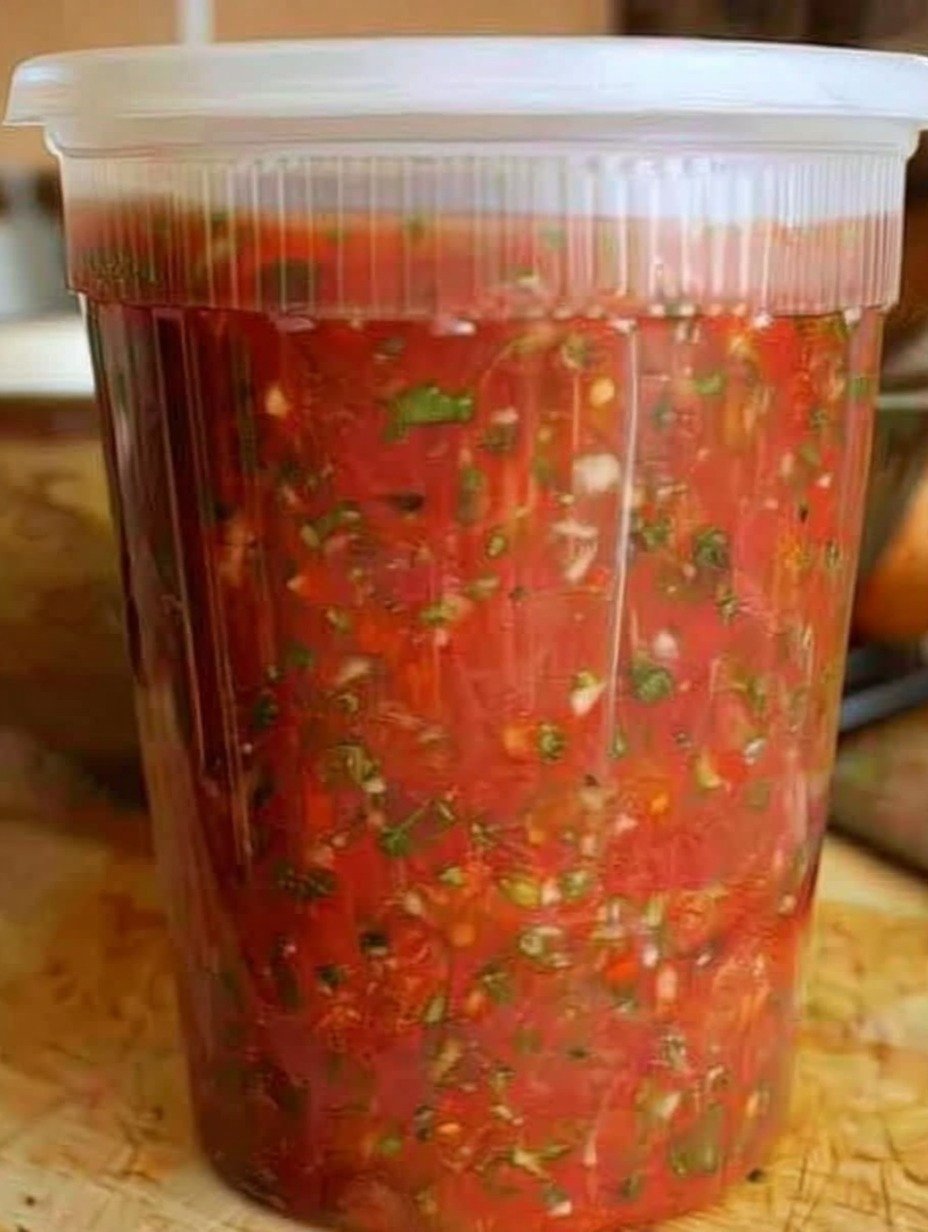
Storage & Make-Ahead: This salsa keeps beautifully. Store in an airtight container in the refrigerator for up to 7 days. The flavors continue to improve for the first 24-48 hours. It also freezes well for up to 3 months.
Nutritional Information (Per ¼ cup serving):
-
Calories: ~20 kcal
-
Total Fat: 0g
-
Cholesterol: 0mg
-
Sodium: ~240mg (adjustable based on salt)
-
Total Carbohydrates: 4g
-
Dietary Fiber: 1g
-
Sugars: 2g (natural from tomatoes and onions)
-
-
Protein: 1g
-
Excellent Source of: Vitamin C, Vitamin A, Lycopene
Nutritional information is an estimate. Values are for the salsa only and do not include tortilla chips.