Prep Time: 20 minutes | Cook Time: 18-22 minutes | Total Time: 40 minutes (plus 30 min chill)
Difficulty: Intermediate | Intensity: Medium (requires gentle handling for flaky layers)
Yield: 8-10 large biscuits | Category: Bread, Breakfast, Side, Sourdough
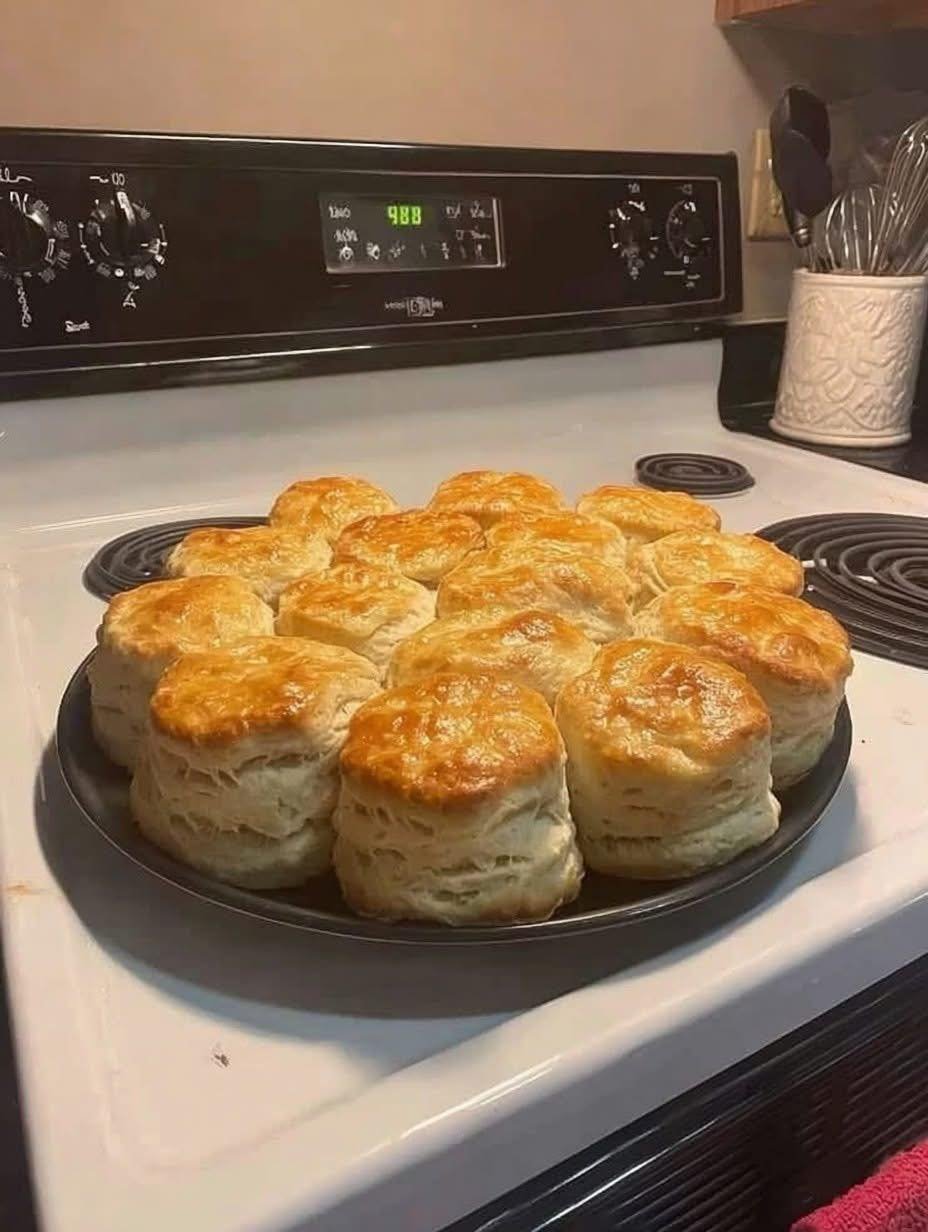
Transform your sourdough discard into something truly spectacular with these Flaky, Buttery Sourdough Discard Biscuits. Far from being an afterthought, the discard brings a subtle tang, incredible tenderness, and a beautiful golden hue to these classic biscuits. Using a simple folding technique, we create towering, pull-apart layers with a crisp, golden exterior and a soft, steaming interior. They are the perfect vessel for jam, gravy, or simply a slather of honey butter. This recipe turns what might have been waste into the star of the breakfast or dinner table, offering both incredible flavor and the satisfaction of zero-waste baking.
Ingredients
For the Biscuits:
-
2 ½ cups (312g) all-purpose flour, plus more for dusting
-
1 tbsp baking powder
-
1 tsp granulated sugar
-
1 tsp salt
-
½ tsp baking soda
-
½ cup (1 stick / 113g) cold unsalted butter, cubed
-
1 cup (240g) unfed sourdough starter discard (100% hydration)
-
¾ cup (180ml) cold buttermilk, plus 1-2 tbsp more if needed
For Finishing:
-
2 tbsp unsalted butter, melted
-
Flaky sea salt (optional)
Equipment:
-
Bench scraper or sharp knife
-
Rolling pin
-
2.5-3 inch round biscuit cutter (a glass or jar works in a pinch)
-
Baking sheet lined with parchment paper
Instructions
Step 1: Prepare Dry Ingredients & Butter
-
Preheat your oven to 425°F (220°C). Line a baking sheet with parchment paper.
-
In a large mixing bowl, whisk together the flour, baking powder, sugar, salt, and baking soda.
-
Add the cold, cubed butter to the flour mixture. Using a pastry cutter, your fingertips, or two forks, work the butter into the flour until the mixture resembles coarse crumbs with some pea-sized and larger flat pieces of butter remaining. These larger pieces are key for creating flaky layers.
Step 2: Combine Wet & Dry
-
In a separate bowl or measuring jug, whisk together the sourdough discard and the cold buttermilk until smooth.
-
Make a well in the center of the dry ingredients and pour in the wet mixture. Using a fork or a dough whisk, gently stir just until a shaggy dough begins to form and no dry flour remains at the bottom of the bowl. The dough will be sticky.
-
Do not overmix. If the dough seems too dry and won’t come together, add an additional tablespoon of cold buttermilk.
Step 3: The Laminating Fold (Key to Flaky Layers)
-
Turn the shaggy dough out onto a lightly floured surface. Gently pat it into a rough rectangle about 1-inch thick.
-
Using a floured rolling pin, roll the dough into a ½-inch thick rectangle, roughly 10×6 inches.
-
Perform the First Fold: Imagine the rectangle divided into thirds. Fold the top third down over the center, then fold the bottom third up over the top (like a business letter). Rotate the dough 90 degrees.
-
Roll the dough out again into a ½-inch thick rectangle and repeat the folding process. You will do this a total of 3-4 times, re-flouring the surface lightly as needed to prevent sticking. This folding creates the distinct, separable layers.
-
After the final fold, pat or gently roll the dough to a 1-inch thickness.
Step 4: Cut & Chill
-
Dip your biscuit cutter in flour. Press straight down into the dough without twisting to cut out biscuits. Twisting seals the edges and impedes rising. Re-roll scraps gently and cut until all dough is used.
-
Place the biscuits on the prepared parchment-lined baking sheet, arranging them so they are just touching for softer sides, or with 1 inch of space between for crisper sides.
-
Crucial Step: Place the entire baking sheet in the freezer for 15-20 minutes, or the refrigerator for 30 minutes. This rechills the butter, ensuring maximum rise and flakiness in the oven.
Step 5: Bake to Golden Perfection
-
Brush the tops of the chilled biscuits lightly with melted butter.
-
Bake on the center rack for 18-22 minutes, rotating the pan halfway through, until the biscuits are puffed high and a deep, golden brown on top.
-
Immediately upon removing from the oven, brush again with the remaining melted butter and sprinkle with a pinch of flaky sea salt, if desired.
Step 6: The Essential Rest
-
Let the biscuits cool on the baking sheet for 5-10 minutes before serving. This allows the steam to settle and the internal structure to set, making them easier to split open without crumbling.
Step 7: Serve Warm
-
Serve the biscuits warm, split open with extra butter, your favorite jam, honey, or smothered in sausage gravy.
Baker’s Notes & Tips for Success
-
Temperature is Everything: All ingredients (butter, buttermilk, discard) must be cold. The cold butter creates steam pockets in the oven, which are responsible for the lift and flaky texture.
-
Handle with Care: The less you handle the dough, the more tender the biscuit. Overworking develops gluten, leading to toughness.
-
Starter Hydration: This recipe is written for a 100% hydration starter (equal parts flour and water by weight). If your discard is thicker, you may need a touch more buttermilk. If it’s thinner, you may need a touch less.
-
No Buttermilk? Make a substitute by adding 1 tbsp of lemon juice or white vinegar to a measuring cup, then filling to the ¾ cup line with regular milk. Let it sit for 5 minutes to curdle.
-
Storage: Biscuits are best enjoyed the day they are made. Store leftovers in an airtight container at room temperature for 1-2 days. Reheat in a 350°F oven for 5-8 minutes to refresh. They also freeze beautifully before or after baking.
Nutrition Information (Per Biscuit, based on 1/8th of recipe)
| Nutrient | Amount | % Daily Value* |
|---|---|---|
| Calories | ~280 kcal | |
| Total Fat | 14g | 18% |
| Saturated Fat | 9g | 45% |
| Cholesterol | 35mg | 12% |
| Sodium | 560mg | 24% |
| Total Carbohydrates | 33g | 12% |
| Dietary Fiber | 1g | 4% |
| Total Sugars | 2g | |
| Protein | 5g | 10% |
| Calcium | 120mg | 9% |
| Iron | 2mg | 10% |
**Percent Daily Values are based on a 2000 calorie diet. These are estimates and will vary based on specific ingredients used. Sodium content can be adjusted by reducing salt to ¾ tsp.*