Prep Time: 10 minutes (night before) + 5 minutes (morning of)
Cook Time: 15-20 minutes (per batch)
Total Time: Overnight + 30 minutes active
Serves: 3-4 (makes about twelve 4-inch pancakes)
Difficulty: Easy
Intensity: Low (simple mixing, requires planning)
Ingredients
For the Overnight Sponge (The Flavor Foundation):
-
1 cup (240g) unfed/”discard” sourdough starter (100% hydration)
-
1 cup (240ml) whole milk, buttermilk, or a plant-based alternative (like oat milk)
-
1 ¼ cups (160g) all-purpose flour
-
1 tbsp (12g) granulated sugar or honey
For the Morning Batter:
-
1 large egg
-
2 tbsp (28g) unsalted butter, melted and slightly cooled (or neutral oil)
-
½ tsp fine sea salt
-
½ tsp baking soda
-
1 tsp baking powder
-
½ tsp pure vanilla extract (optional but recommended)
For Cooking & Serving:
-
1-2 tbsp butter or neutral oil for the griddle
-
Pure maple syrup, warmed
-
Extra butter
-
Fresh berries, banana slices, or toasted nuts
Instructions
Part 1: The Overnight Sponge (The Night Before, 5 min)
-
Mix the Base: In a large mixing bowl (one that will hold the doubled batter), combine the sourdough discard, milk, flour, and sugar. Whisk vigorously until you have a smooth, thick, lump-free batter. It will be paste-like.
-
Ferment: Cover the bowl tightly with plastic wrap or a lid. Leave it at room temperature (68-72°F / 20-22°C is ideal) for 8-12 hours, typically overnight. This fermentation period is where the magic happens: the wild yeast and bacteria pre-digest the flour, developing complex tangy flavors and creating a bubbly, active base.
Part 2: The Morning Batter & Cook (The Day Of, 20 min)
-
Assess Your Sponge: In the morning, your sponge should be visibly bubbly, may have increased in volume, and will have a pleasantly tangy aroma. Give it a good stir.
-
Add Wet Ingredients: To the sponge, add the egg, melted (and cooled) butter, and vanilla extract. Whisk until fully incorporated.
-
The Leavening Lift: In a small bowl, whisk together the salt, baking soda, and baking powder. Sprinkle this dry mixture evenly over the batter. Whisk quickly and gently just until everything is combined and you see the batter instantly begin to bubble and expand. Do not overmix. A few small streaks are fine. Let the batter rest for 5 minutes while you heat your griddle. This allows the chemical leaveners to activate fully.
-
Heat the Griddle: Heat a cast-iron skillet, griddle, or non-stick pan over medium-low to medium heat. It’s properly heated when a few drops of water flicked onto the surface dance and evaporate quickly. Add a small pat of butter or a brush of oil.
-
Cook to Golden Perfection: Pour or ladle about ¼ cup of batter per pancake onto the preheated griddle, leaving space between them. Cook until the tops are covered with popped bubbles and the edges look set and slightly dry, about 2-4 minutes.
-
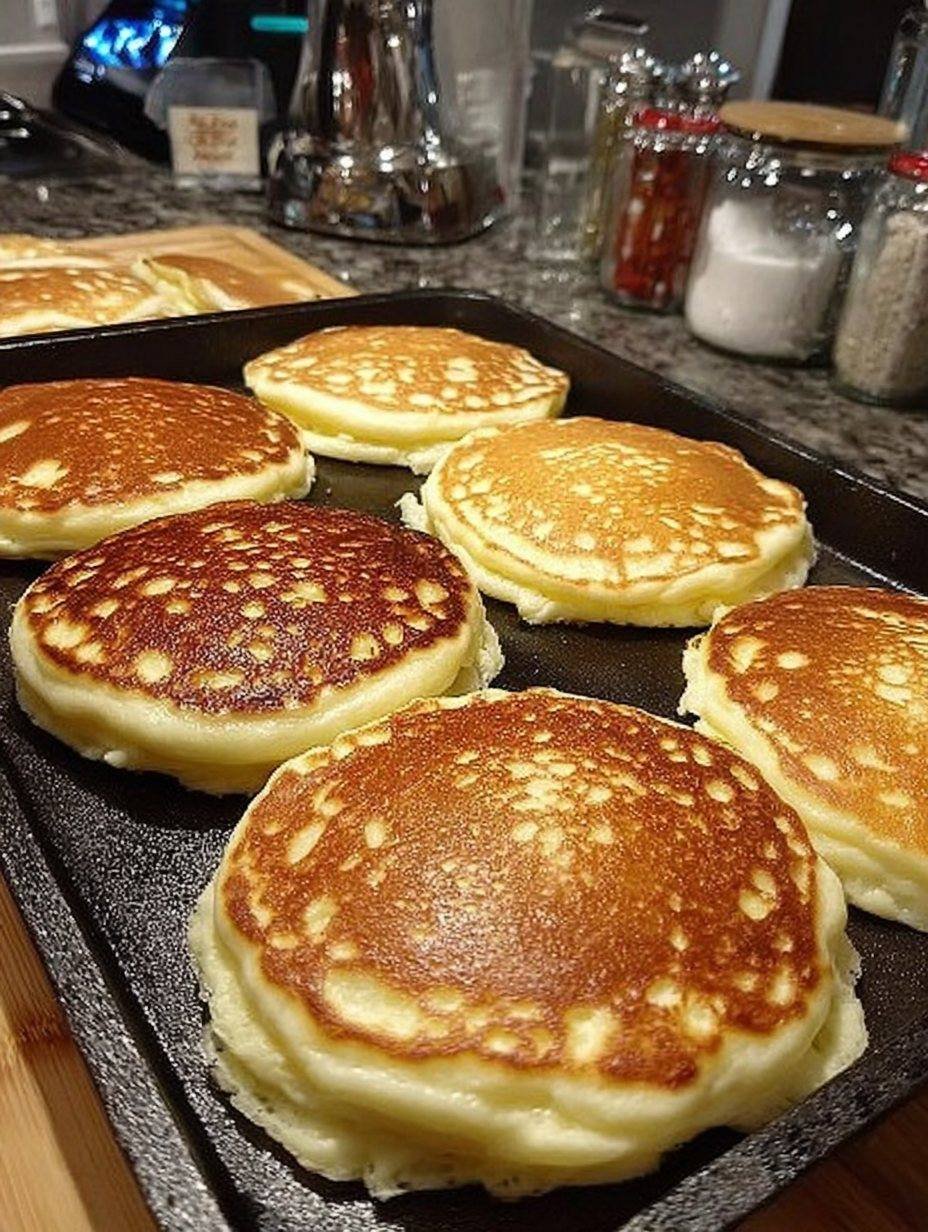
The Flip & Finish: Carefully flip the pancakes. They should be a deep, golden brown. Cook on the second side for 1-2 minutes more, until golden and cooked through. The key is patience—a medium-low heat ensures the insides cook fully without burning the outside.
-
Keep Warm: Transfer cooked pancakes to a wire rack placed on a baking sheet in a warm oven (about 200°F / 95°C) while you finish the batch. This keeps them warm without making them soggy.
Part 3: Serve Immediately
-
Stack & Serve: Pile pancakes high on warmed plates. Add a generous pat of butter to the top and let it melt into the craggy surfaces. Drizzle lavishly with warm maple syrup and top with fresh fruit or nuts.
-
Enjoy the Magic: Serve immediately. These pancakes are at their absolute peak straight from the griddle: crisp-edged, cloud-soft, and bursting with flavor.
The Sourdough Baker’s Guide: Tips, Science & Troubleshooting
-
Starter Hydration: This recipe is written for a 100% hydration starter (equal parts water and flour by weight). If your starter is thicker, you may need to add a touch more milk to the sponge to achieve a thick paste. If it’s thinner, your batter may be a bit looser, but will still work beautifully.
-
The Fermentation Factor: The longer and warmer the ferment, the tangier your pancakes will be. For mild flavor, ferment for 8 hours. For a pronounced sourdough tang, go for the full 12. In a very warm kitchen, you may see more rise.
-
Why Both Baking Soda & Powder?
-
Baking Soda is essential. It immediately reacts with the acidity of the fermented sourdough starter, creating bubbles that make the pancakes incredibly light and tender.
-
Baking powder provides a secondary rise from the heat of the griddle, ensuring maximum fluffiness. Together, they are unbeatable.
-
-
Batter Consistency is Key: After adding all ingredients, the batter should be thick and scoopable, but still pourable. It will be thicker than traditional pancake batter. If it seems too thick (doesn’t spread at all on the griddle), gently fold in a tablespoon of milk. Do not over-stir.
-
No Discard? Use Active Starter! If you want to bake immediately, you can use 1 cup of active, bubbly starter fed 4-12 hours prior. Skip the overnight sponge step. Mix all ingredients (including leaveners) at once and let the batter rest for 20-30 minutes before cooking to allow some fermentation.
-
Make the Sponge Ahead: The fermented sponge can be covered and refrigerated for up to 2 days after its room-temperature ferment. When ready to cook, let it come to room temp for an hour before proceeding, or cook straight from the fridge (they may be slightly less fluffy).
Nutritional Information (Per Serving, 3 pancakes without toppings):
-
Calories: ~380 kcal
-
Total Fat: 14g
-
Saturated Fat: 8g
-
-
Cholesterol: 85mg
-
Sodium: 650mg
-
Total Carbohydrates: 52g
-
Dietary Fiber: 2g
-
Sugars: 8g
-
-
Protein: 10g
Nutritional information is an estimate. Values will vary based on specific starter hydration, milk used, and toppings.