-
100g (½ cup) Active Sourdough Starter
-
350g (1 ½ cups) Warm Water (around 85°F/30°C)
-
25g (2 tbsp) Olive Oil or Melted Butter
-
15g (2 ½ tsp) Granulated Sugar or Honey
-
450g (3 ¾ cups) Bread Flour (all-purpose flour can be used for a slightly denser crumb)
-
9g (1 ½ tsp) Fine Sea Salt
Equipment
-
Stand mixer with dough hook (or a large bowl and sturdy spatula)
-
Digital kitchen scale (highly recommended for accuracy)
-
Large bowl or proofing container
-
9×5 inch Loaf Pan
-
Plastic wrap or a damp kitchen towel
-
Instant-read thermometer (optional but helpful)
Step-by-Step Instructions
Day 1: Evening – Mixing and the Long Ferment
Step 1: Create the Dough (Time: 10 minutes | Intensity: Low)
-
In the bowl of your stand mixer (or a large mixing bowl), combine the active starter, warm water, oil, and sugar. Whisk until the starter is mostly dissolved.
-
Add the bread flour and salt. Using the dough hook attachment, mix on low speed for 5-7 minutes until a shaggy dough forms and no dry bits of flour remain. If mixing by hand, use a spatula and then your hands to bring the dough together—it will be sticky.
-
Increase the mixer speed to medium and knead for another 5-8 minutes, until the dough is smooth, elastic, and pulls away from the sides of the bowl. It will still be slightly tacky to the touch, but shouldn’t stick excessively to your fingers. This is the “windowpane test”: take a small piece of dough and gently stretch it. It should stretch thin enough to be translucent without tearing immediately.
Step 2: Bulk Fermentation (Time: 8-12 hours | Intensity: Very Low)
-
Lightly oil a large bowl. Place the smooth dough ball into the bowl, turning it once to coat it lightly in oil.
-
Cover the bowl tightly with plastic wrap or a lid.
-
Let the dough rest at room temperature (68-75°F / 20-24°C is ideal) for 8 to 12 hours, or overnight. The dough is ready when it has roughly doubled in size and is puffy and full of air bubbles. The timing is highly dependent on your kitchen’s temperature.
Day 2: Morning – Shaping and Final Proof
Step 3: Shape the Loaf (Time: 10 minutes | Intensity: Medium)
-
Generously grease your 9×5 inch loaf pan with butter or oil.
-
Turn the risen dough out onto a lightly floured surface. It will be airy and delicate. Gently press it into a rough rectangle, being careful not to degas it completely.
-
Fold the top third of the rectangle down towards the center, then fold the bottom third up over it (like a letter).
-
Now, starting from the short end, tightly roll the dough into a log. Pinch the final seam closed and pinch the ends slightly to seal them.
-
Place the shaped loaf, seam-side down, into your prepared loaf pan.
Step 4: Final Proof (Time: 2-4 hours | Intensity: Low)
-
Cover the loaf pan loosely with plastic wrap or a damp kitchen towel.
-
Let the dough rise in a warm spot until it has domed about 1 to 1.5 inches above the rim of the pan. This is the key to a good rise! The “poke test” also works: lightly flour your finger and poke the dough. If the indent springs back slowly and only partially, it’s ready. If it springs back quickly, it needs more time.
Step 5: Preheat and Bake (Time: 45 minutes | Intensity: Medium)
-
About 30 minutes before baking, preheat your oven to 375°F (190°C). Place a rack in the center position.
-
For a beautiful, glossy crust, you can brush the top of the loaf with an egg wash (1 egg beaten with 1 tbsp water) or milk. This is optional but recommended for a classic sandwich bread look.
-
Using a sharp knife or lame, make one swift, shallow slash (about ½ inch deep) down the center of the loaf. This allows for controlled expansion in the oven (“oven spring”).
-
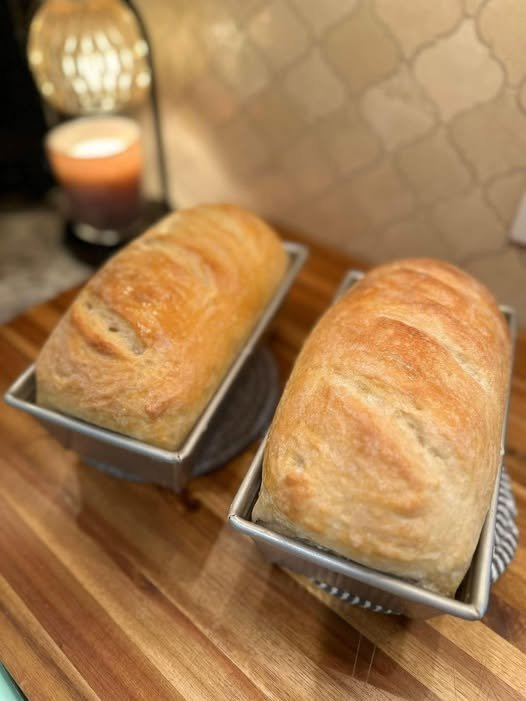
Bake for 35-40 minutes, or until the crust is a deep, golden brown and the internal temperature registers at least 190°F (88°C) on an instant-read thermometer.
-
For an extra-crispy crust, in the last 10 minutes of baking, you can carefully remove the loaf from the pan and place it directly on the oven rack to finish browning.
The Final, Crucial Step: Cooling
Step 6: Cool Completely (Time: 2-3 hours | Intensity: Very Low)
-
Immediately upon removing the bread from the oven, turn it out of the loaf pan onto a wire cooling rack. This is non-negotiable. If you leave it in the pan, steam will get trapped and make the