-
Prep Time: 10 minutes
-
Cook Time: 15 minutes
-
Total Time: 25 minutes
-
Servings: 2 (Makes 6-8 medium pancakes)
-
Cuisine: Health-Conscious, Keto-Friendly
-
Course: Breakfast, Brunch
-
Diet: Low-Carb, High-Protein, Gluten-Free, Sugar-Free
-
Skill Level: Beginner to Intermediate (Requires careful attention to batter consistency and griddle temperature).
-
Recipe Intensity: Medium Intensity (The process is straightforward but relies on specific techniques for optimal fluffiness. Success depends on precision).
Ingredients
The Dry Team (Whisk Together):
-
¾ cup (75g) super-fine blanched almond flour (not almond meal)
-
½ cup (45g) unflavored or vanilla whey protein isolate powder (see Chef’s Notes—this is the most critical ingredient choice)
-
1 ½ teaspoons baking powder (aluminum-free preferred)
-
¼ teaspoon baking soda
-
¼ teaspoon fine sea salt
-
1 teaspoon cinnamon (optional, but recommended)
The Wet Team (Blend Until Frothy):
-
3 large eggs, at room temperature
-
¼ cup (60ml) unsweetened almond milk (or any milk of choice)
-
¼ cup (55g) full-fat plain Greek yogurt (or sour cream)
-
1 teaspoon pure vanilla extract
-
1-2 tablespoons granulated erythritol or allulose (optional, adjust to taste)
-
1 tablespoon avocado oil or melted butter (plus more for cooking)
Essential Tools:
-
Two mixing bowls
-
Whisk
-
Hand mixer or stand mixer (highly recommended for maximum fluffiness)
-
Non-stick skillet or griddle
-
Spatula
-
Ice cream scoop or ¼ cup measure
Step-by-Step Instructions
Step 1: The Precision Prep (5 minutes)
-
Ingredient Check: Ensure your eggs and yogurt are at room temperature. This allows for better emulsification and a higher rise. Take them out 20 minutes before starting.
-
Mix Dry Ingredients: In a medium bowl, whisk together the almond flour, protein powder, baking powder, baking soda, salt, and cinnamon (if using). Ensure there are no lumps. Set aside.
-
Preheat & Prep: Place your skillet or griddle over medium-low heat (about 325°F / 163°C). Low-carb batters require gentler, longer cooking than traditional ones. Lightly grease the surface with avocado oil or butter.
Step 2: The “Fluff” Foundation (4 minutes)
-
In a separate, larger bowl, combine the room-temperature eggs, almond milk, Greek yogurt, vanilla extract, and sweetener (if using).
-
Here is the SECRET TECHNIQUE: Using a hand mixer or stand mixer fitted with the whisk attachment, beat the wet mixture on medium-high speed for 2-3 full minutes. The goal is to incorporate as much air as possible; the mixture should become pale, frothy, and slightly increased in volume. This aeration is what will give the pancakes their signature lift.
Step 3: Gentle Unification (2 minutes)
-
Pour the whisked dry ingredients into the frothy wet ingredients. Add the 1 tablespoon of avocado oil or melted butter.
-
DO NOT OVERMIX. Using a silicone spatula or a whisk, gently fold the batter until just combined. A few small lumps are perfectly fine and preferable. Overmixing will deflate the air you just incorporated and activate the gluten-like proteins in the almond flour, leading to tough, dense pancakes. The batter will be thick but should slowly plop off a spoon.
Step 4: The Perfect Cook (12-15 minutes)
-
Test your griddle: A few drops of water should sizzle gently but not violently bounce.
-
Using a ¼-cup measure or an ice cream scoop, portion the batter onto the preheated skillet. Gently spread it into a 4-inch circle with the back of the scoop—it won’t spread much on its own.
-
Cook LOW and SLOW. Let the pancake cook for 2.5 to 3.5 minutes on the first side. You will see bubbles forming around the edges and the surface will begin to look matte and set around the outer inch. The edges will also appear slightly dry.
-
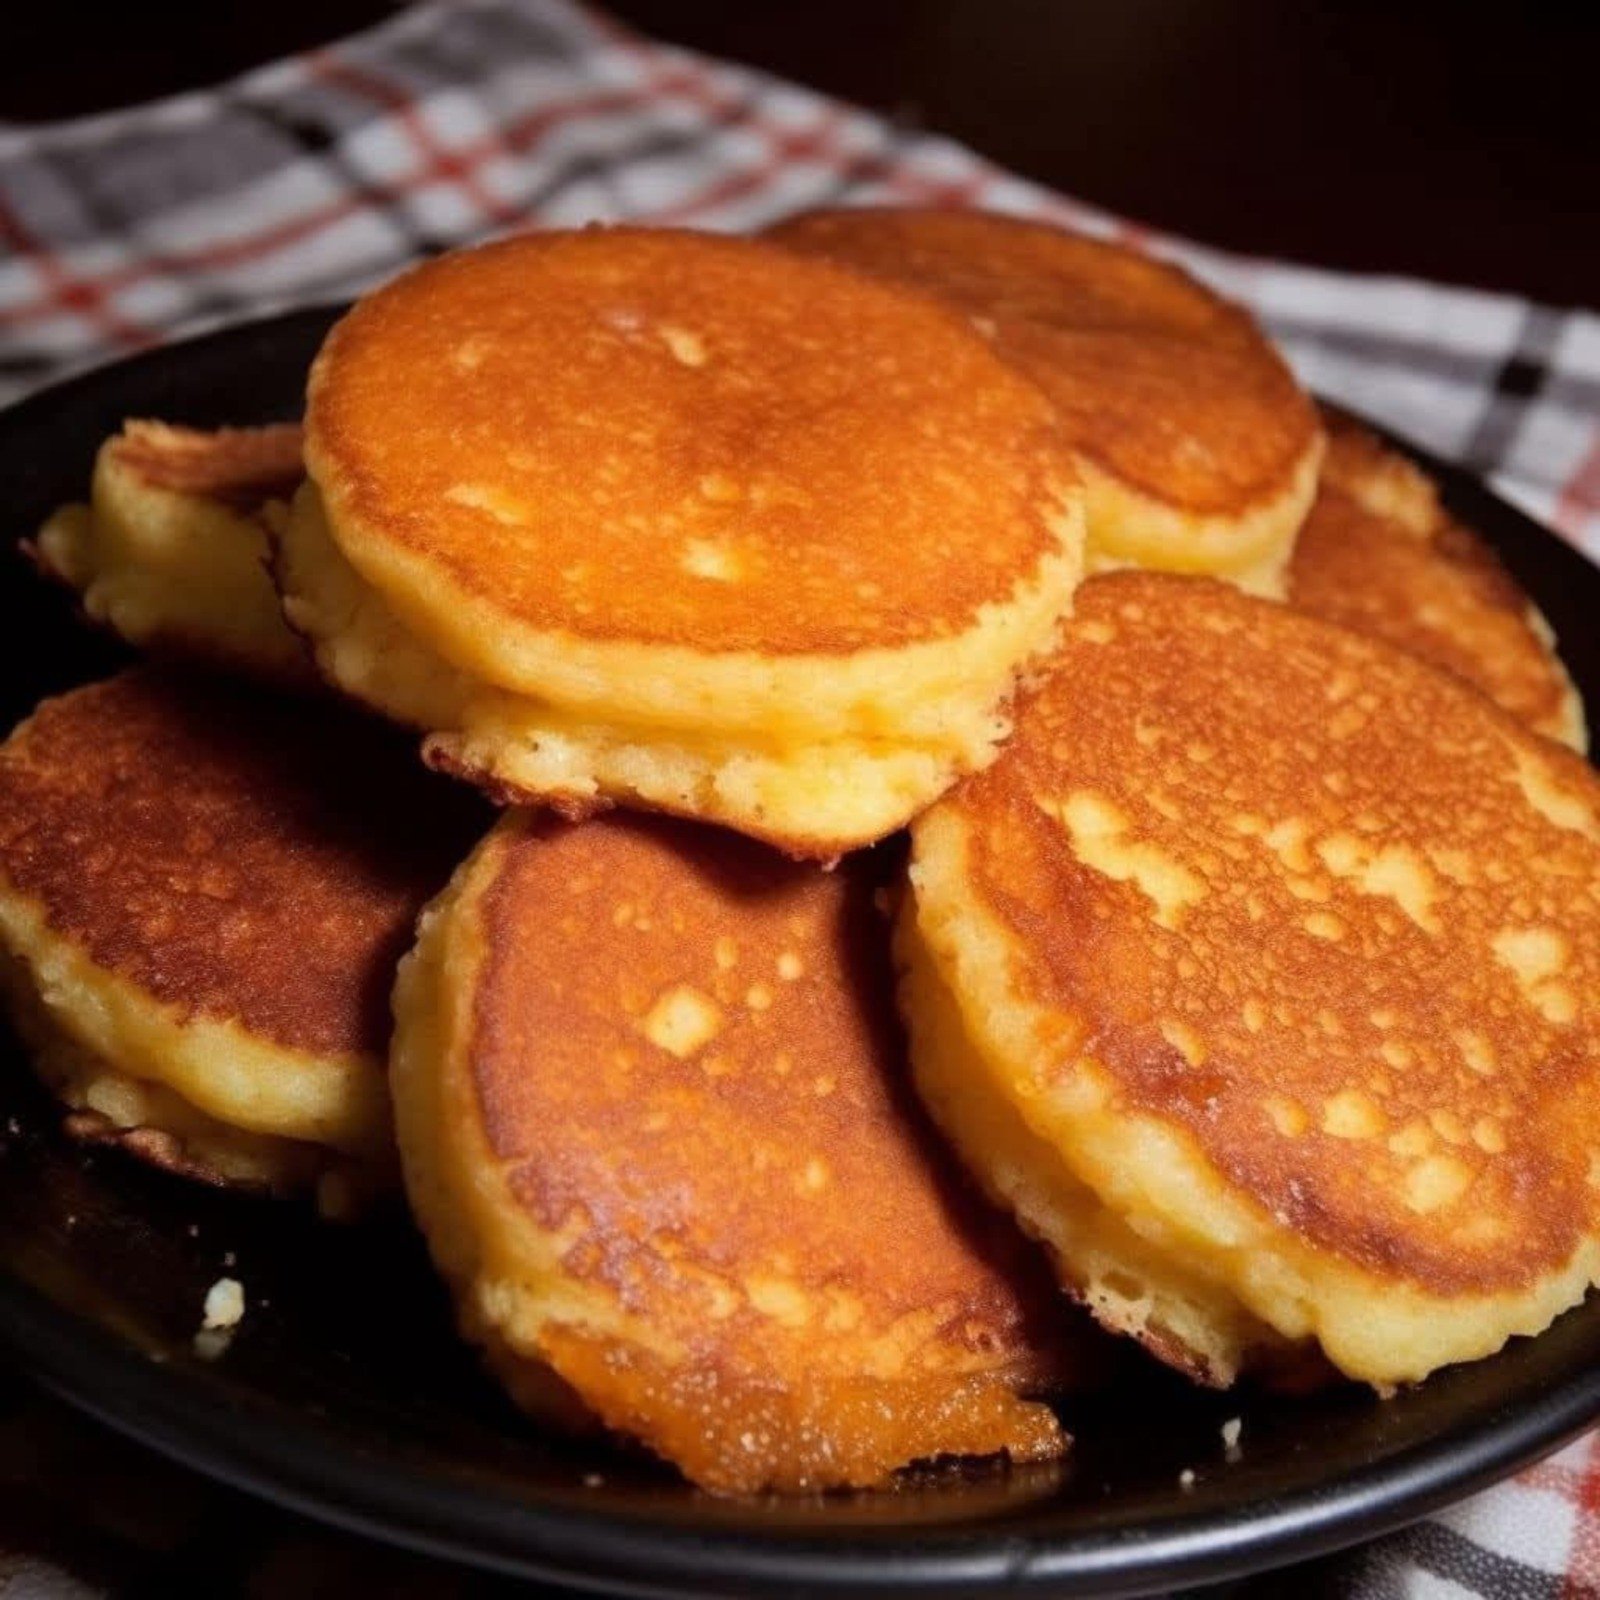
Carefully slide your spatula underneath and flip. The underside should be a deep, even golden brown. Cook for another 1.5 to 2.5 minutes on the second side until cooked through. Adjust the heat as necessary—if they are browning too fast, lower it.
-
Transfer cooked pancakes to a wire rack (not a plate—this prevents steaming and sogginess) in a warm oven (200°F / 95°C) while you finish the batch. Re-grease the skillet lightly as needed.
Serving & Storing
-
Serving: Serve your warm, fluffy stack immediately with your favorite low-carb toppings.
-
Classic: A pat of good butter and a drizzle of sugar-free maple syrup.
-
Berry Bliss: A handful of fresh raspberries or blueberries and a dollop of whipped cream (sugar-free if desired).
-
Decadent: A scoop of almond butter and a sprinkle of sugar-free chocolate chips.
-
-
Storing: Cool pancakes completely on a wire rack. Store in an airtight container in the refrigerator for up to 3 days or freeze for up to 2 months, with parchment paper between each pancake. Reheat in a toaster, air fryer, or warm oven for best texture.
Nutrition Information
*(Per serving, based on 1/2 of the recipe (approx. 3-4 pancakes), using unflavored whey protein isolate, unsweetened almond milk, and without toppings. This is an estimate.)*
-
Calories: ~410
-
Total Fat: 30g
-
Saturated Fat: 5g
-
Cholesterol: 250mg
-
Sodium: 680mg
-
Total Carbohydrates: 12g
-
Dietary Fiber: 5g
-
Net Carbs: 7g (Total Carbs – Fiber)
-
Sugars: 2g (natural from ingredients)
-
Protein: 30g
-
Vitamin D: 10% DV
-
Calcium: 25% DV
-
Iron: 15% DV
Chef’s Notes: The Science of Success (Non-Negotiable Tips)
-
Protein Powder is Key: You must use WHEY PROTEIN ISOLATE. Casein, vegan blends (pea, brown rice), or whey concentrate will result in gummy, dense, or flat pancakes. Isolate has the right protein structure for fluffiness. Unflavored or vanilla are best.
-
Room Temperature is Non-Negotiable: Cold ingredients won’t trap air and will cause the batter to seize. Plan for this.
-
The Aeration Step is Critical: Do not skip using the mixer. Whisking by hand will not incorporate enough air.
-
Low Heat Wins the Race: High heat will burn the outside before the inside sets. Be patient for perfect golden-brown color.
-
Don’t Peek! Resist the urge to press down on the pancakes with the spatula or flip them early. You’ll release the precious air pockets.
-
Troubleshooting:
-
Too Dense? You likely overmixed the batter or used the wrong protein powder.
-
Not Browning? Your heat is too low. Increase slightly.
-
Burning Outside/Raw Inside? Your heat is too high. Reduce it.
-
Batter Too Thick? Add a tablespoon of almond milk at a time until it reaches a scoopable consistency.
-
This recipe is a triumph of kitchen chemistry, proving that dietary goals don’t have to mean sacrificing joy at the breakfast table. Master these techniques, and you’ll have a powerful, delicious tool in your healthy eating arsenal. Now, fire up that mixer and get ready for the fluffiest, most satisfying low-carb stack of your life.