Total Time: 40 minutes | Active Prep Time: 20 minutes | Cooking Time: 20 minutes
Difficulty: Easy | Serves: 4
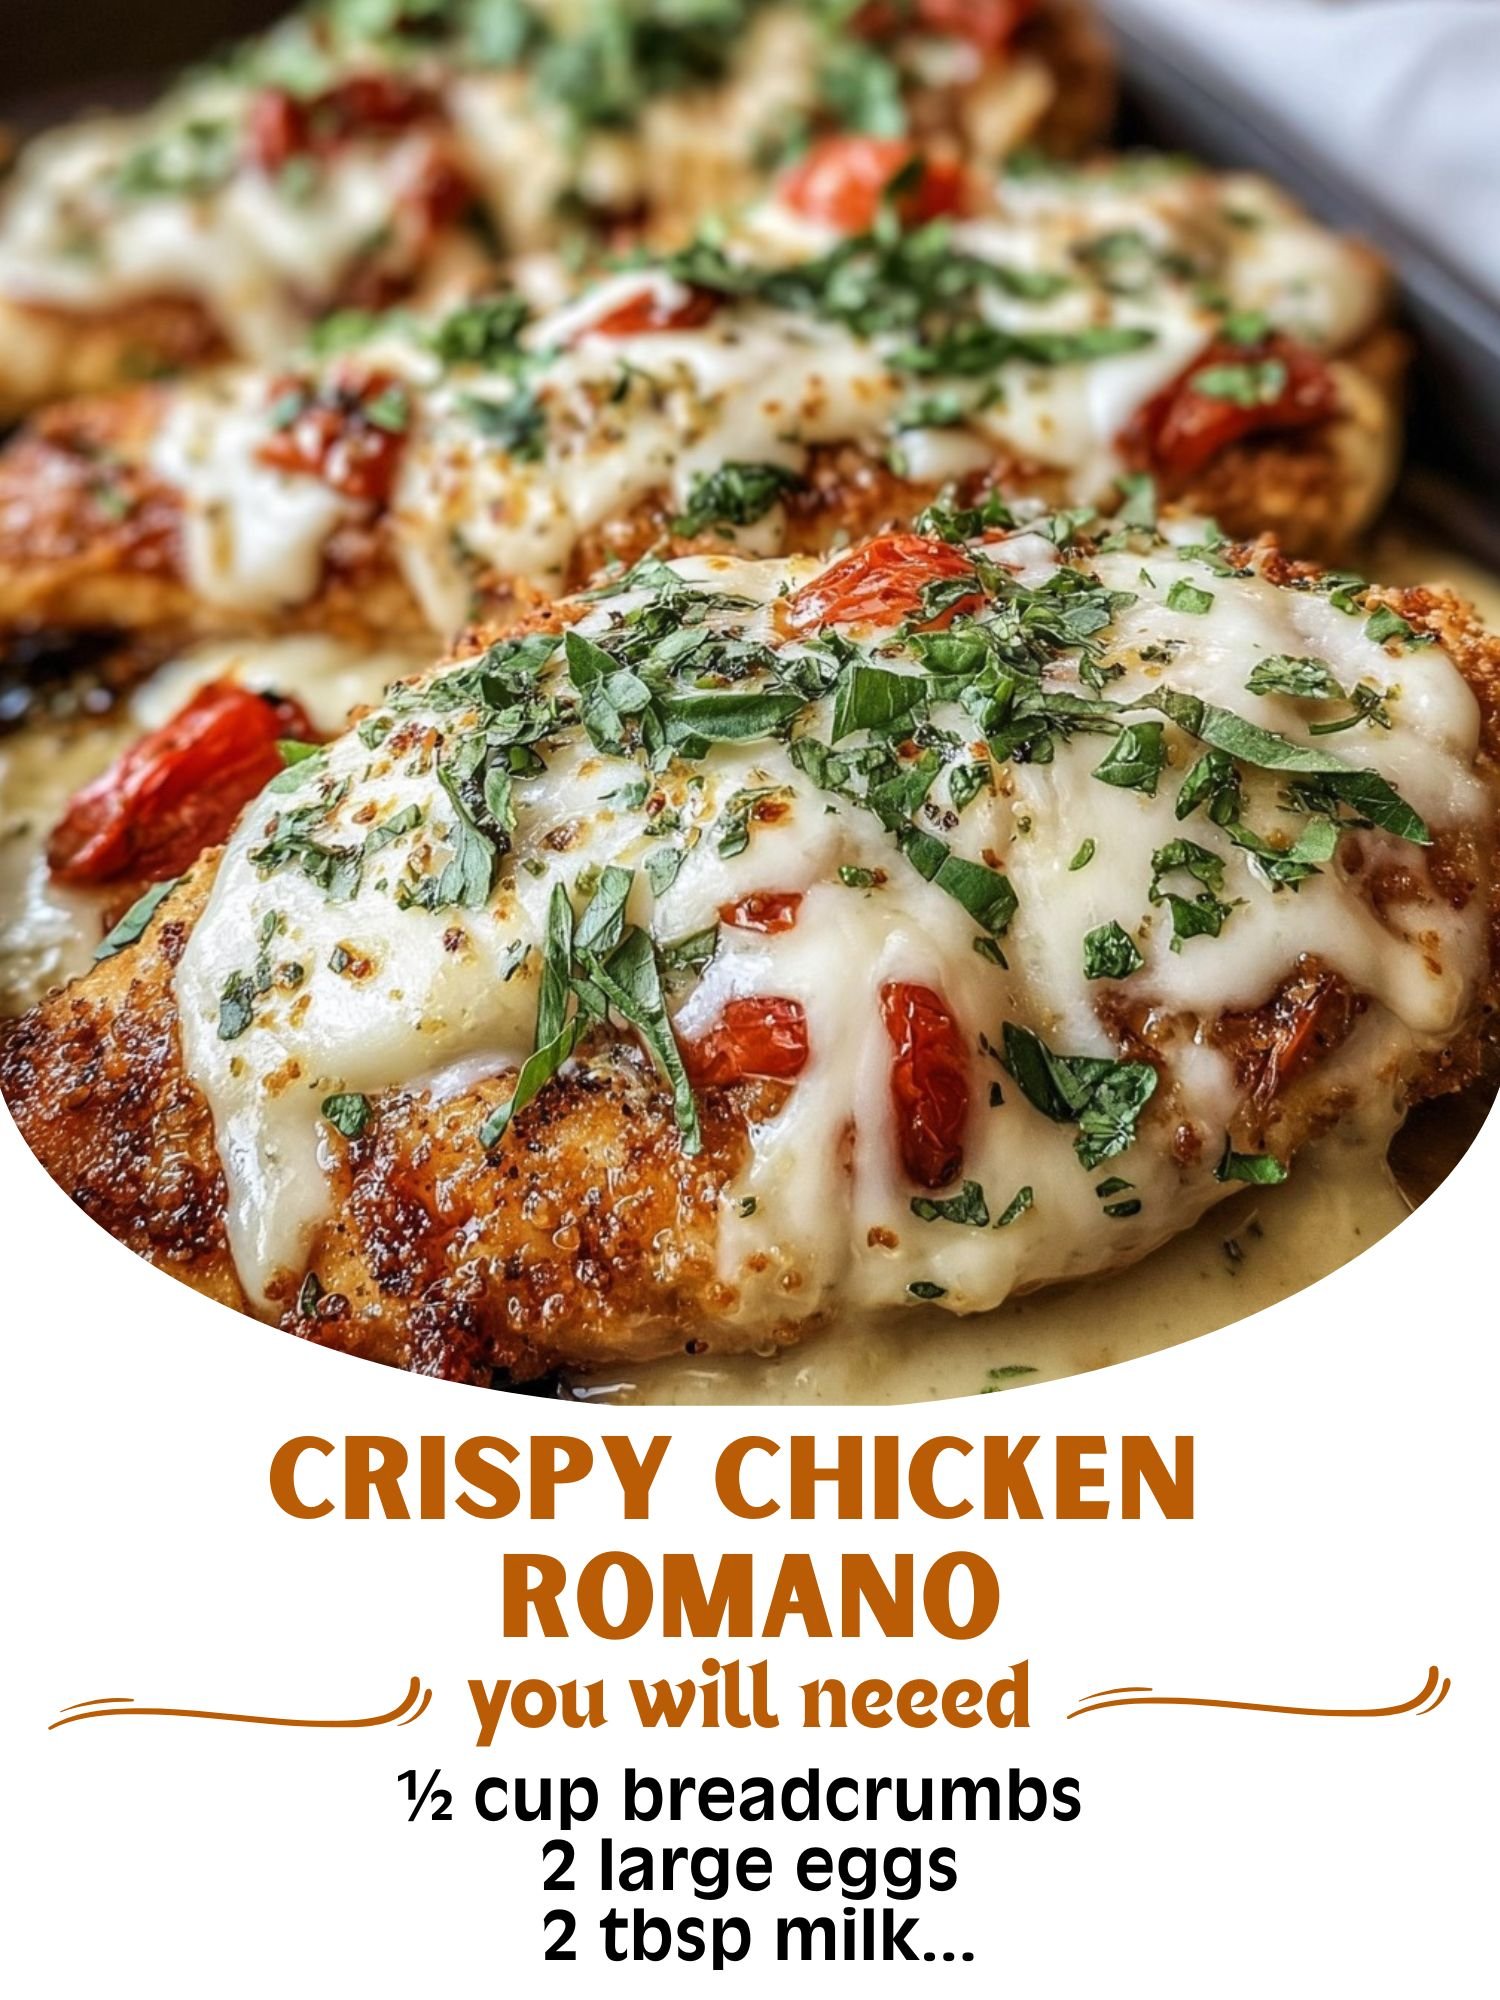
Skip the wait and the high bill—Crispy Chicken Romano is a stunning, elegant dish you can master at home. It elevates the simple chicken cutlet into a gourmet experience with a golden, shatteringly crisp crust made from nutty Romano and Parmesan cheeses, seasoned breadcrumbs, and fresh herbs. Pan-fried to perfection, each bite offers a satisfying crunch that gives way to juicy chicken, followed by the bold, salty-savory punch of the cheese. Served over a bed of lemony pasta or a simple arugula salad, it’s an impressive yet surprisingly straightforward recipe that’s perfect for a date night in or a family dinner that feels special.
Ingredients
For the Chicken:
-
4 boneless, skinless chicken breasts (about 6 oz each)
-
Salt and freshly ground black pepper
-
½ cup all-purpose flour
-
3 large eggs
-
1 tablespoon water
-
2 tablespoons finely chopped fresh parsley
For the Crispy Romano Crust:
-
1 cup fine, plain breadcrumbs (Panko can be used for extra crunch)
-
1 cup finely grated Pecorino Romano cheese*
-
½ cup finely grated Parmesan cheese
-
1 teaspoon garlic powder
-
1 teaspoon dried oregano
-
½ teaspoon onion powder
-
¼ teaspoon crushed red pepper flakes (optional)
-
Zest of 1 lemon
For Cooking & Serving:
-
½ cup vegetable oil, avocado oil, or light olive oil (for frying)
-
2 tablespoons unsalted butter
-
2 cloves garlic, lightly smashed
-
Fresh lemon wedges, for serving
-
Chopped fresh parsley, for garnish
-
For serving suggestion: Cooked linguine or spaghetti, tossed with olive oil, lemon juice, garlic, and red pepper flakes.
Instructions
Phase 1: Prep the Chicken & Station Setup (Time: 15 minutes | Intensity: Medium)
1. Prepare the Chicken: Place chicken breasts between two sheets of plastic wrap or in a large zip-top bag. Using a meat mallet, rolling pin, or heavy skillet, pound to an even ½-inch thickness. This ensures quick, even cooking. Pat completely dry with paper towels and season generously on both sides with salt and pepper.
2. Set Up Your Breading Station: Organization is key for a clean, efficient breading process. Set up three shallow dishes (pie plates or wide bowls work perfectly).
* Dish 1: The ½ cup of all-purpose flour.
* Dish 2: The 3 eggs, 1 tablespoon of water, and the 2 tablespoons of chopped parsley. Whisk vigorously until completely combined and frothy.
* Dish 3: The Romano crust. Mix the breadcrumbs, grated Romano, grated Parmesan, garlic powder, oregano, onion powder, red pepper flakes (if using), and lemon zest. Use your fingers to break up any clumps and ensure everything is evenly distributed.
3. Breading Protocol: Keep one hand for “dry” ingredients (flour and crust mix) and one for “wet” (egg wash). This prevents your fingers from becoming a clumpy mess.
Phase 2: The Triple-Breading Technique (Time: 5 minutes | Intensity: Low-Medium)
Working with one cutlet at a time:
1. Dredge in Flour: Coat the chicken thoroughly in the flour, shaking off any excess. This dry layer helps the egg wash adhere.
2. Dip in Egg Wash: Submerge the floured chicken in the egg mixture, letting any excess drip back into the bowl.
3. Press into Crust: Place the chicken into the Romano-breadcrumb mixture. Press down firmly, then scoop the mixture over the top. Pat and press aggressively to ensure a thick, even, compact layer of the cheesy crust adheres to every surface. Gently place the breaded cutlet on a clean plate or wire rack. Repeat with remaining chicken.
Phase 3: Pan-Fry to Golden Crispness (Time: 15 minutes | Intensity: Medium-High)
1. Heat the Oil: In a large, heavy skillet (cast iron is ideal), heat the ½ cup of oil over medium-high heat. To test if it’s ready, drop a small breadcrumb in; it should sizzle vigorously.
2. Fry in Batches: Carefully add two breaded cutlets to the hot oil. Do not crowd the pan. Fry for 4-5 minutes per side, adjusting heat as needed, until the crust is a deep, golden brown and the chicken is cooked through (internal temperature of 165°F / 74°C).
3. Keep Warm & Infuse: Transfer the cooked cutlets to a wire rack set over a baking sheet (this keeps them crispy). Place in a 250°F (120°C) oven to keep warm. Repeat with remaining chicken, adding a little more oil if needed.
4. The Flavor Finish: Once all chicken is cooked, carefully pour out the hot oil from the skillet. Return the skillet to medium heat and add the 2 tablespoons of butter and the smashed garlic cloves. Swirl and cook for 1-2 minutes until the butter is fragrant and lightly browned. Remove garlic and discard.
Phase 4: Rest, Sauce, & Serve (Time: 5 minutes | Intensity: Low)
1. The Essential Rest: Let the chicken rest for 3-5 minutes after the final piece is cooked. This allows the juices to redistribute, ensuring every bite is moist.
2. Drizzle & Garnish: Drizzle the hot, fragrant garlic butter over the resting chicken cutlets.
3. Serve Immediately: Plate each Crispy Chicken Romano cutlet. Garnish with a final sprinkle of chopped fresh parsley and serve immediately with plenty of fresh lemon wedges. The bright lemon juice is the perfect acidic counterpoint to the rich, cheesy crust.
Chef’s Notes & Pro-Tips for the Perfect Crust
-
The Cheese Rule: Pecorino Romano is non-negotiable for authentic flavor. It’s saltier, sharper, and nuttier than Parmesan. Using the pre-grated cheese from a canister won’t deliver the same flavor or melt-in-the-pan quality—always grate your own from a block.
-
Pounding Evenly: Uniform thickness is the single most important factor for preventing dry, overcooked edges and a raw center. Take your time with this step.
-
The Press is Key: When applying the crust, don’t just dredge—press firmly. A well-adhered crust won’t fall off during frying.
-
Oil Temperature: Maintain a steady medium-high heat. If the oil is too cool, the crust will absorb oil and become greasy. If it’s too hot, the cheese will burn before the chicken cooks.
-
Baking Alternative: For a slightly lighter version, place breaded cutlets on a wire rack over a baking sheet. Spray generously with cooking spray or drizzle with oil. Bake at 400°F (200°C) for 18-22 minutes, flipping halfway, until crispy and cooked through.
-
Make-Ahead: Bread the cutlets, place them in a single layer on a parchment-lined baking sheet, and freeze for 1 hour. Then transfer to a freezer bag for up to 1 month. Fry directly from frozen, adding a few minutes to the cooking time.
Nutrition Information (Per Chicken Cutlet)
*Note: Estimate based on one 6 oz chicken breast, breaded and pan-fried as directed, using all oil. Baking will significantly reduce fat content.*
-
Calories: ~580 kcal
-
Total Carbohydrates: 25g
-
Dietary Fiber: 1g
-
Sugars: 2g
-
-
Protein: 48g
-
Total Fat: 30g
-
Saturated Fat: 9g
-
-
Cholesterol: 225mg
-
Sodium: ~850mg (A significant portion comes from the cheeses. Use less salt in seasoning if concerned.)
Key Nutrients: This dish is an excellent source of complete, lean protein. The cheeses provide a substantial amount of calcium and phosphorus. Using whole-grain breadcrumbs can add fiber and B-vitamins. For a more balanced meal, serve with a large side of steamed vegetables or a robust salad.